
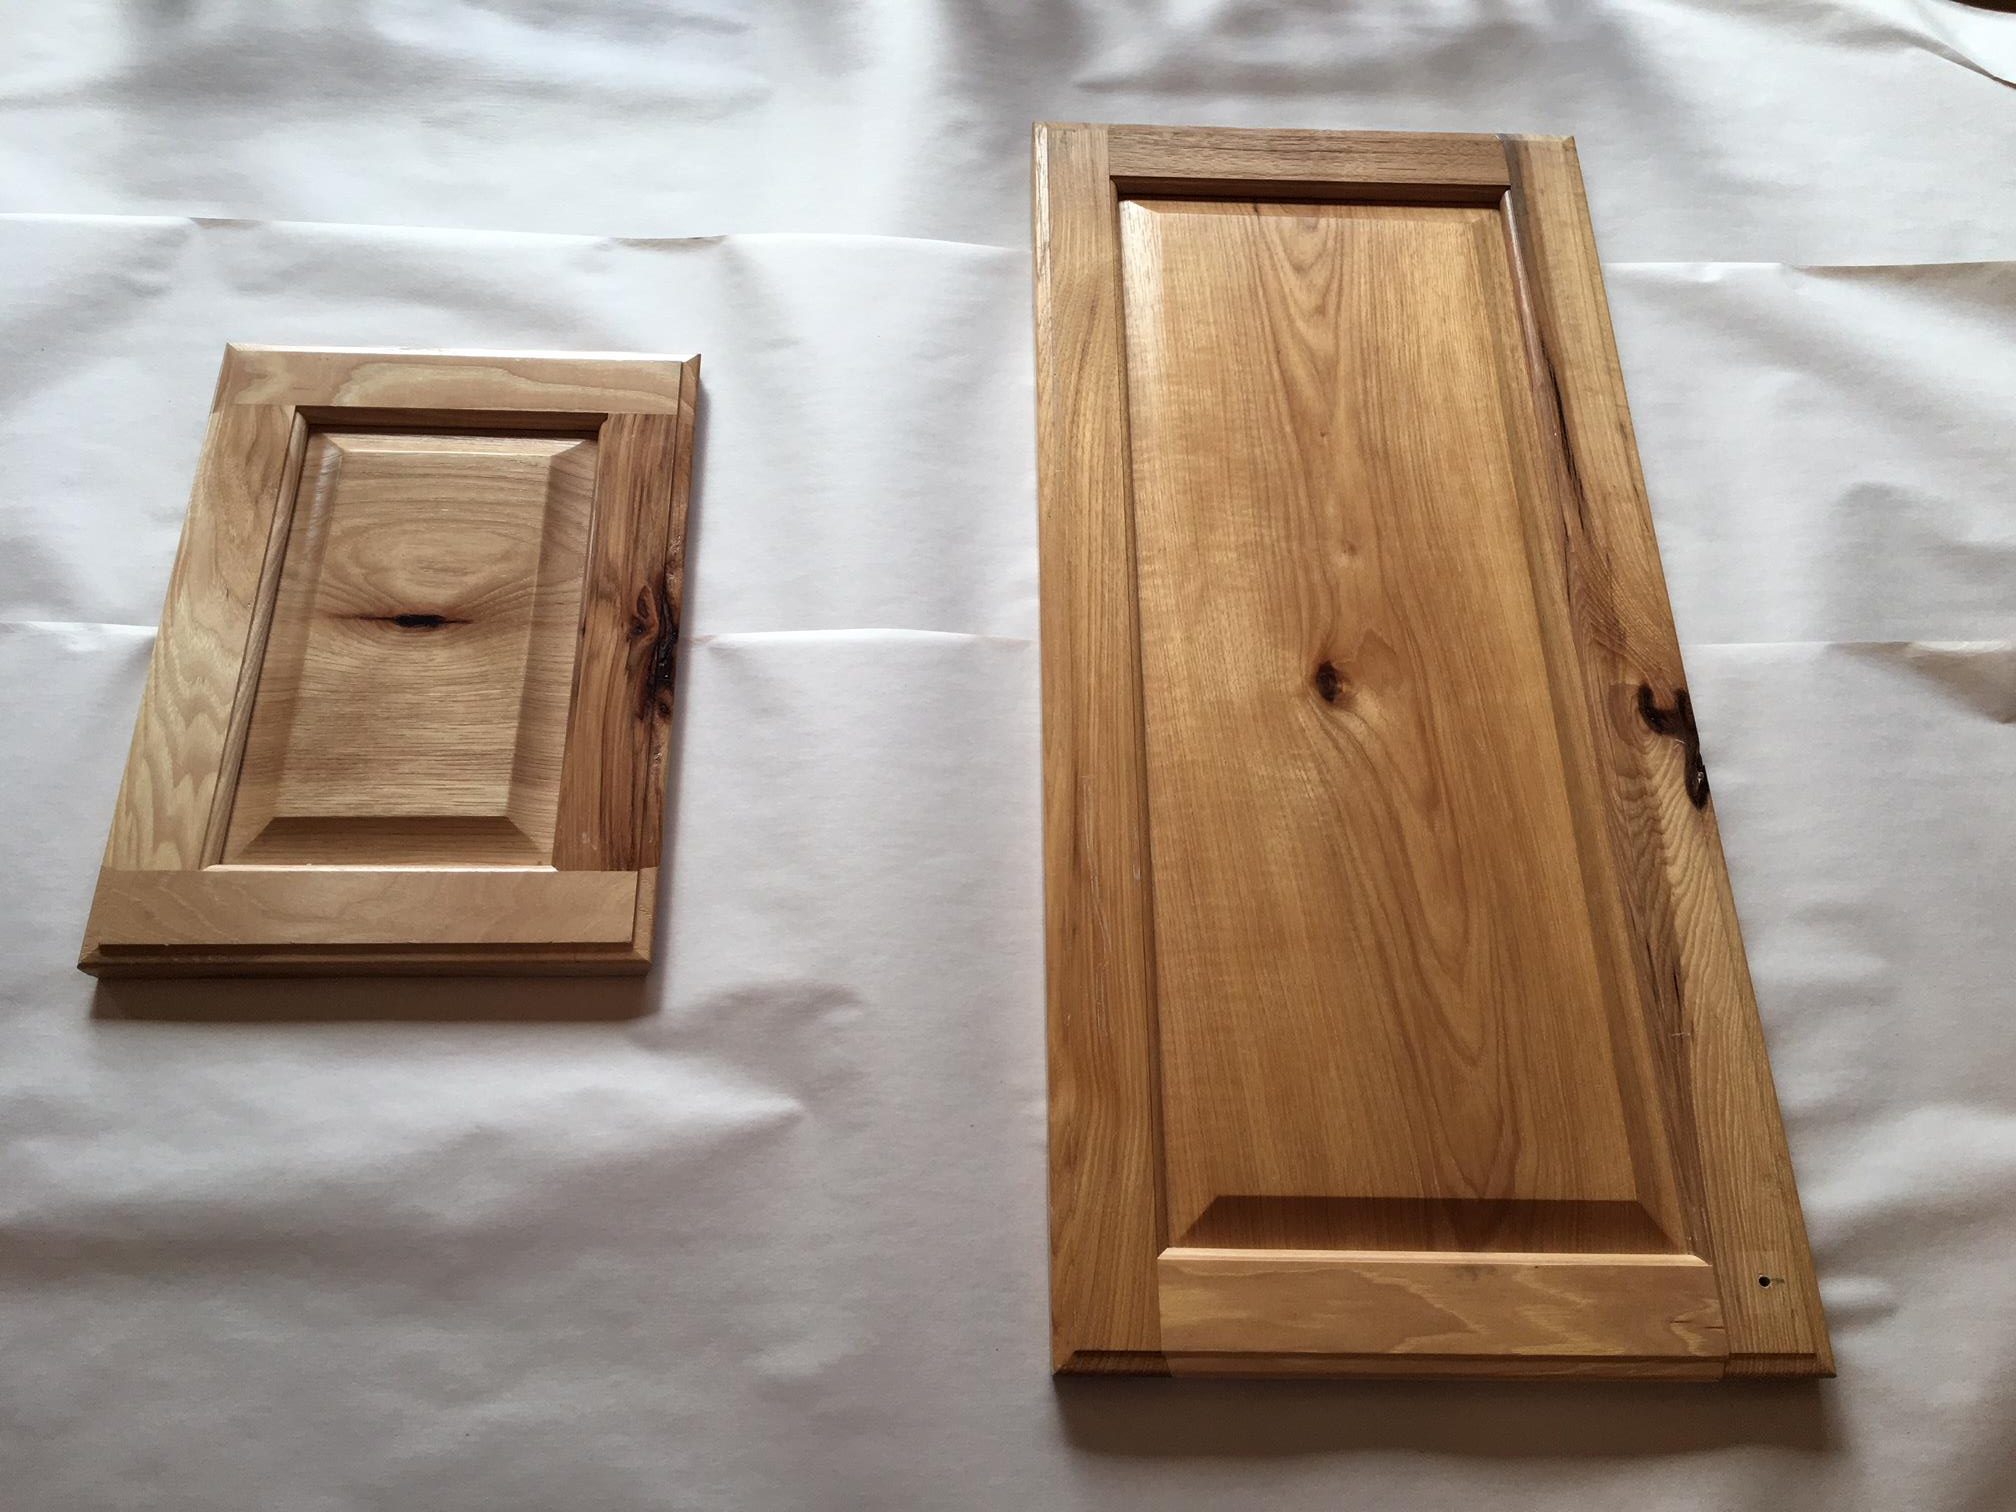
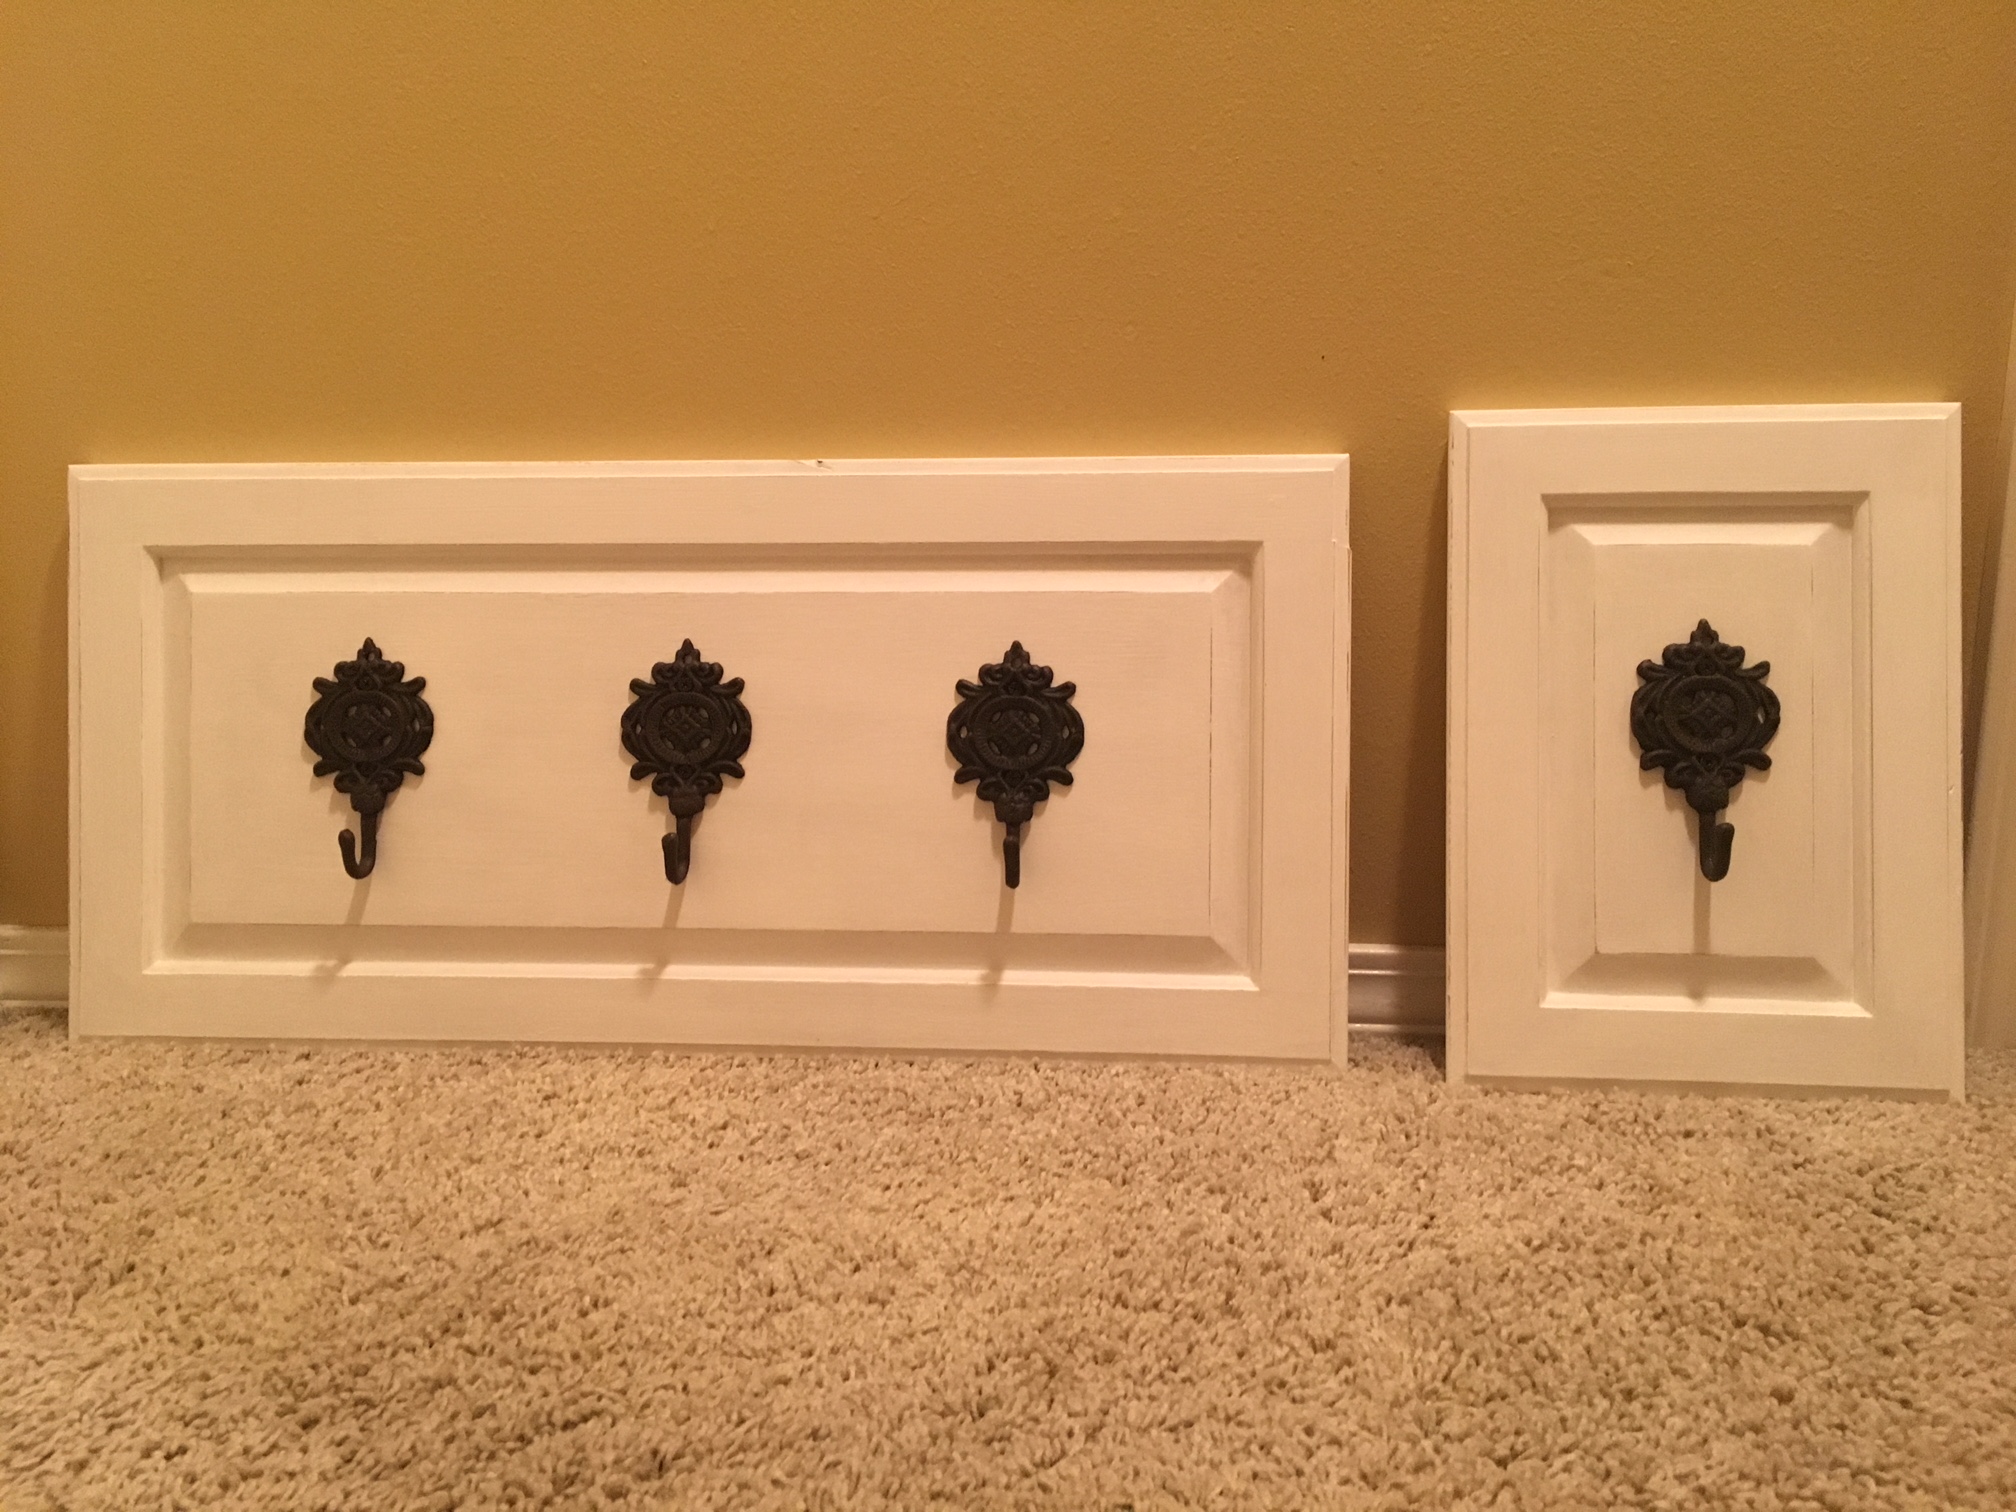
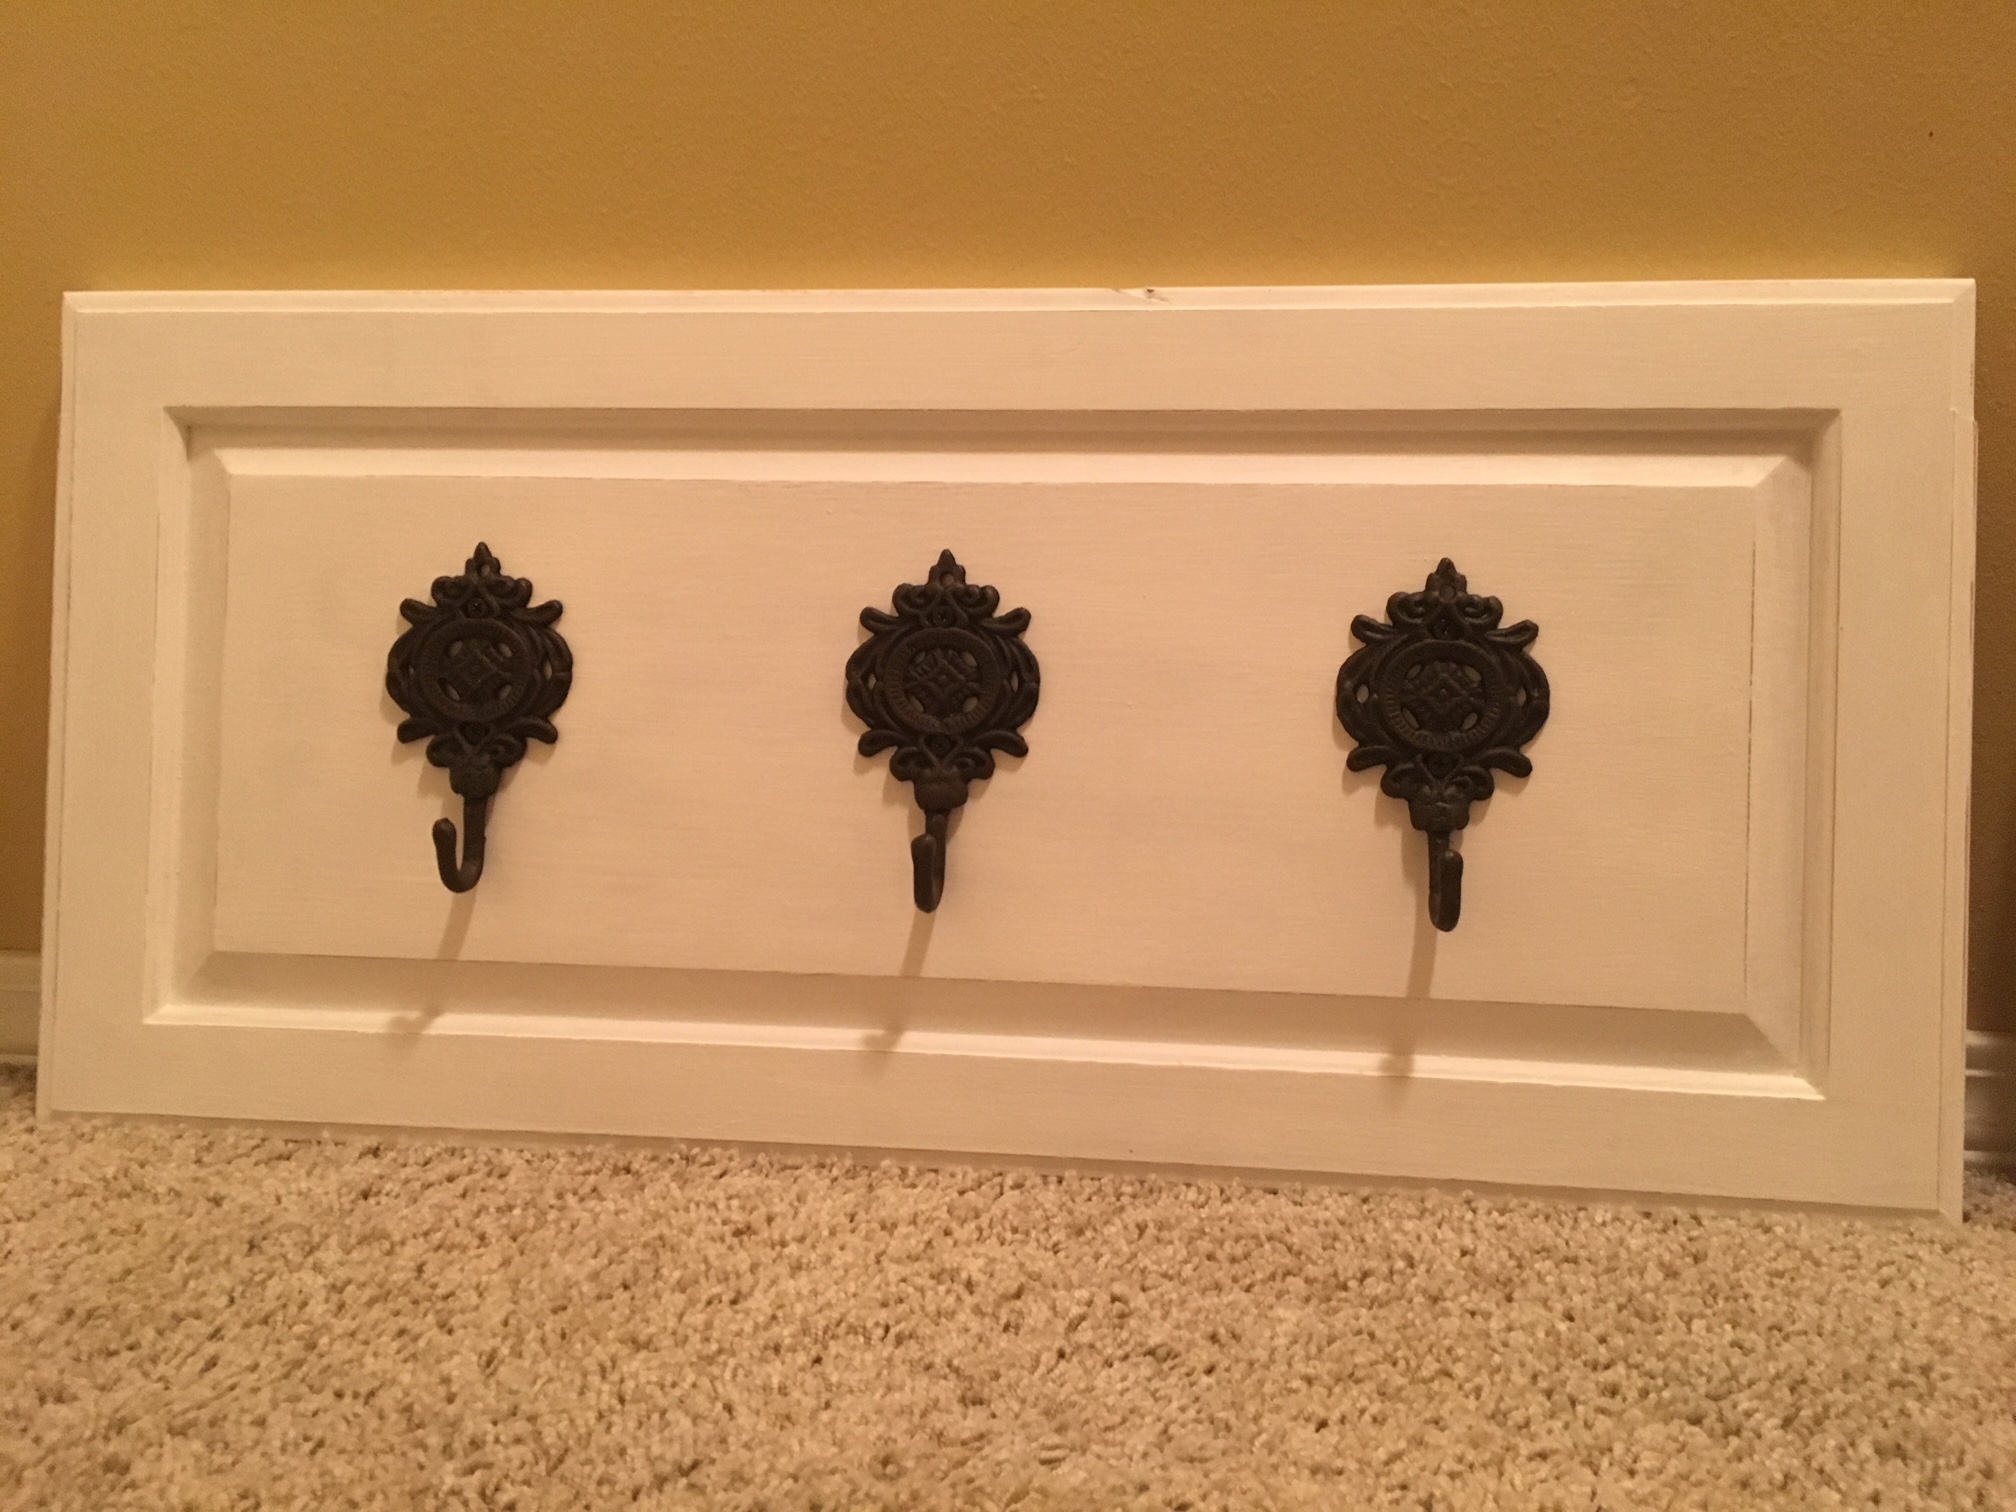
In my latest project, I used old cabinet doors which were still in great shape to make a really pretty towel rack for our bathroom. I repurposed something old to create something new and useful with only a little bit of chalk paint and some hooks from Hobby Lobby. Pretty cool upcycling, huh?
I got the cabinet doors from a place in our town called Home ReSource. I only paid $5 for them. It is a place which sells home goods which are used, but not necessarily trash. For example, they sell used light fixtures, leftover hardwood flooring, cabinetry, antique doors and tubs. It is a treasure trove of goodies just waiting for a new home, and your imagination is the only limit.
Here is how I did it.
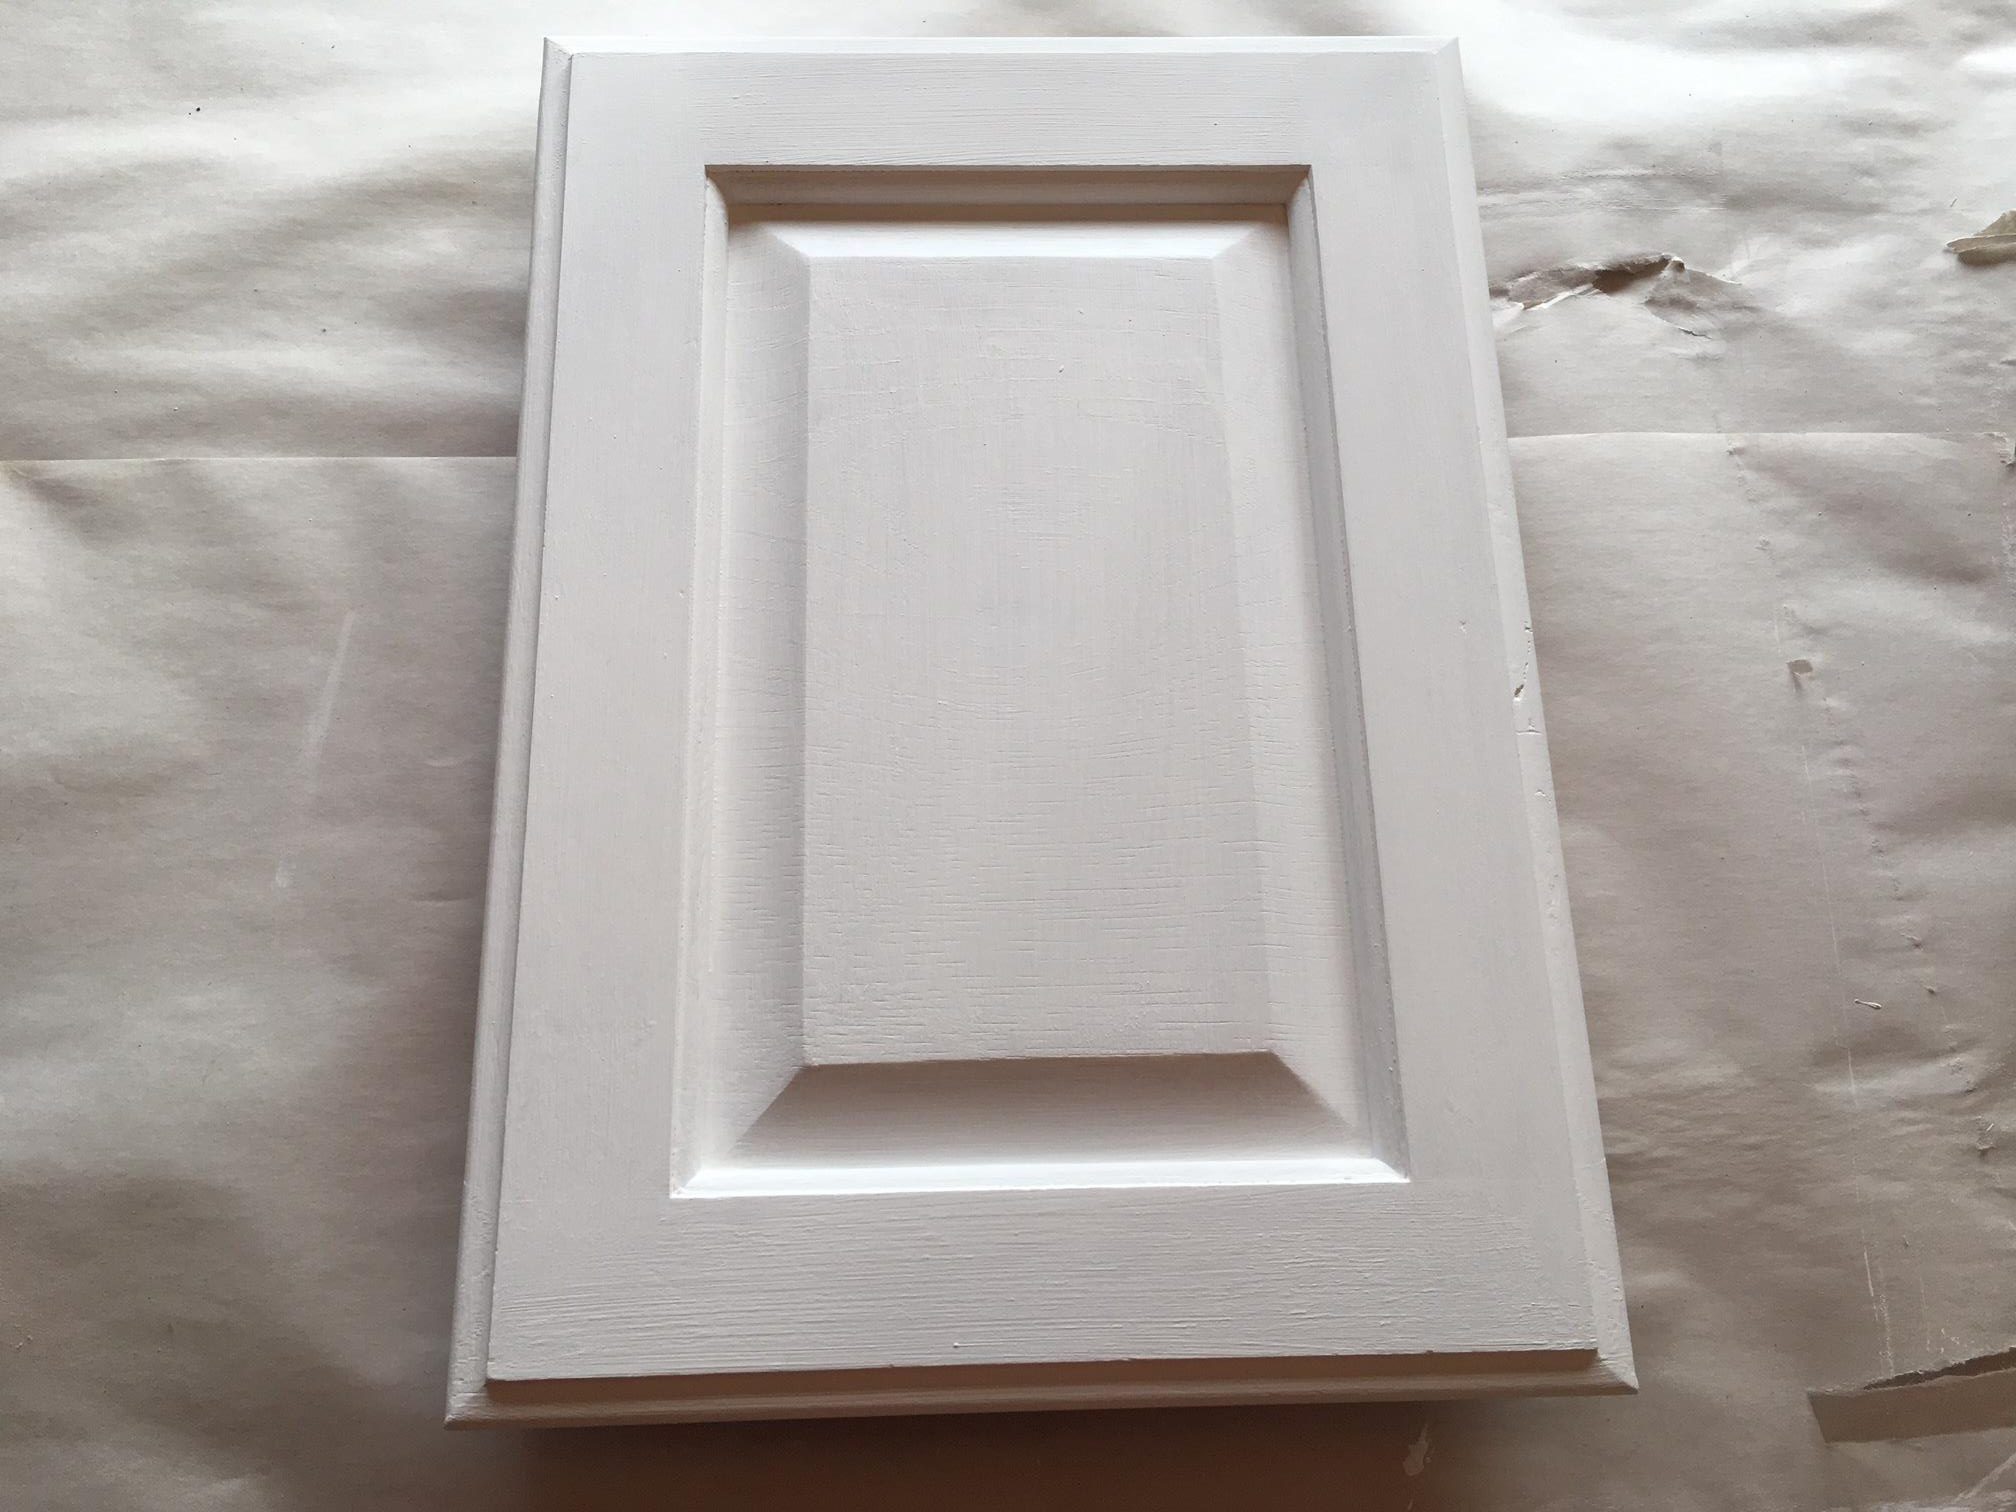
First, I cleaned the cabinet doors and let them dry. The great thing about chalk paint is you don’t have to sand or prime before you paint.
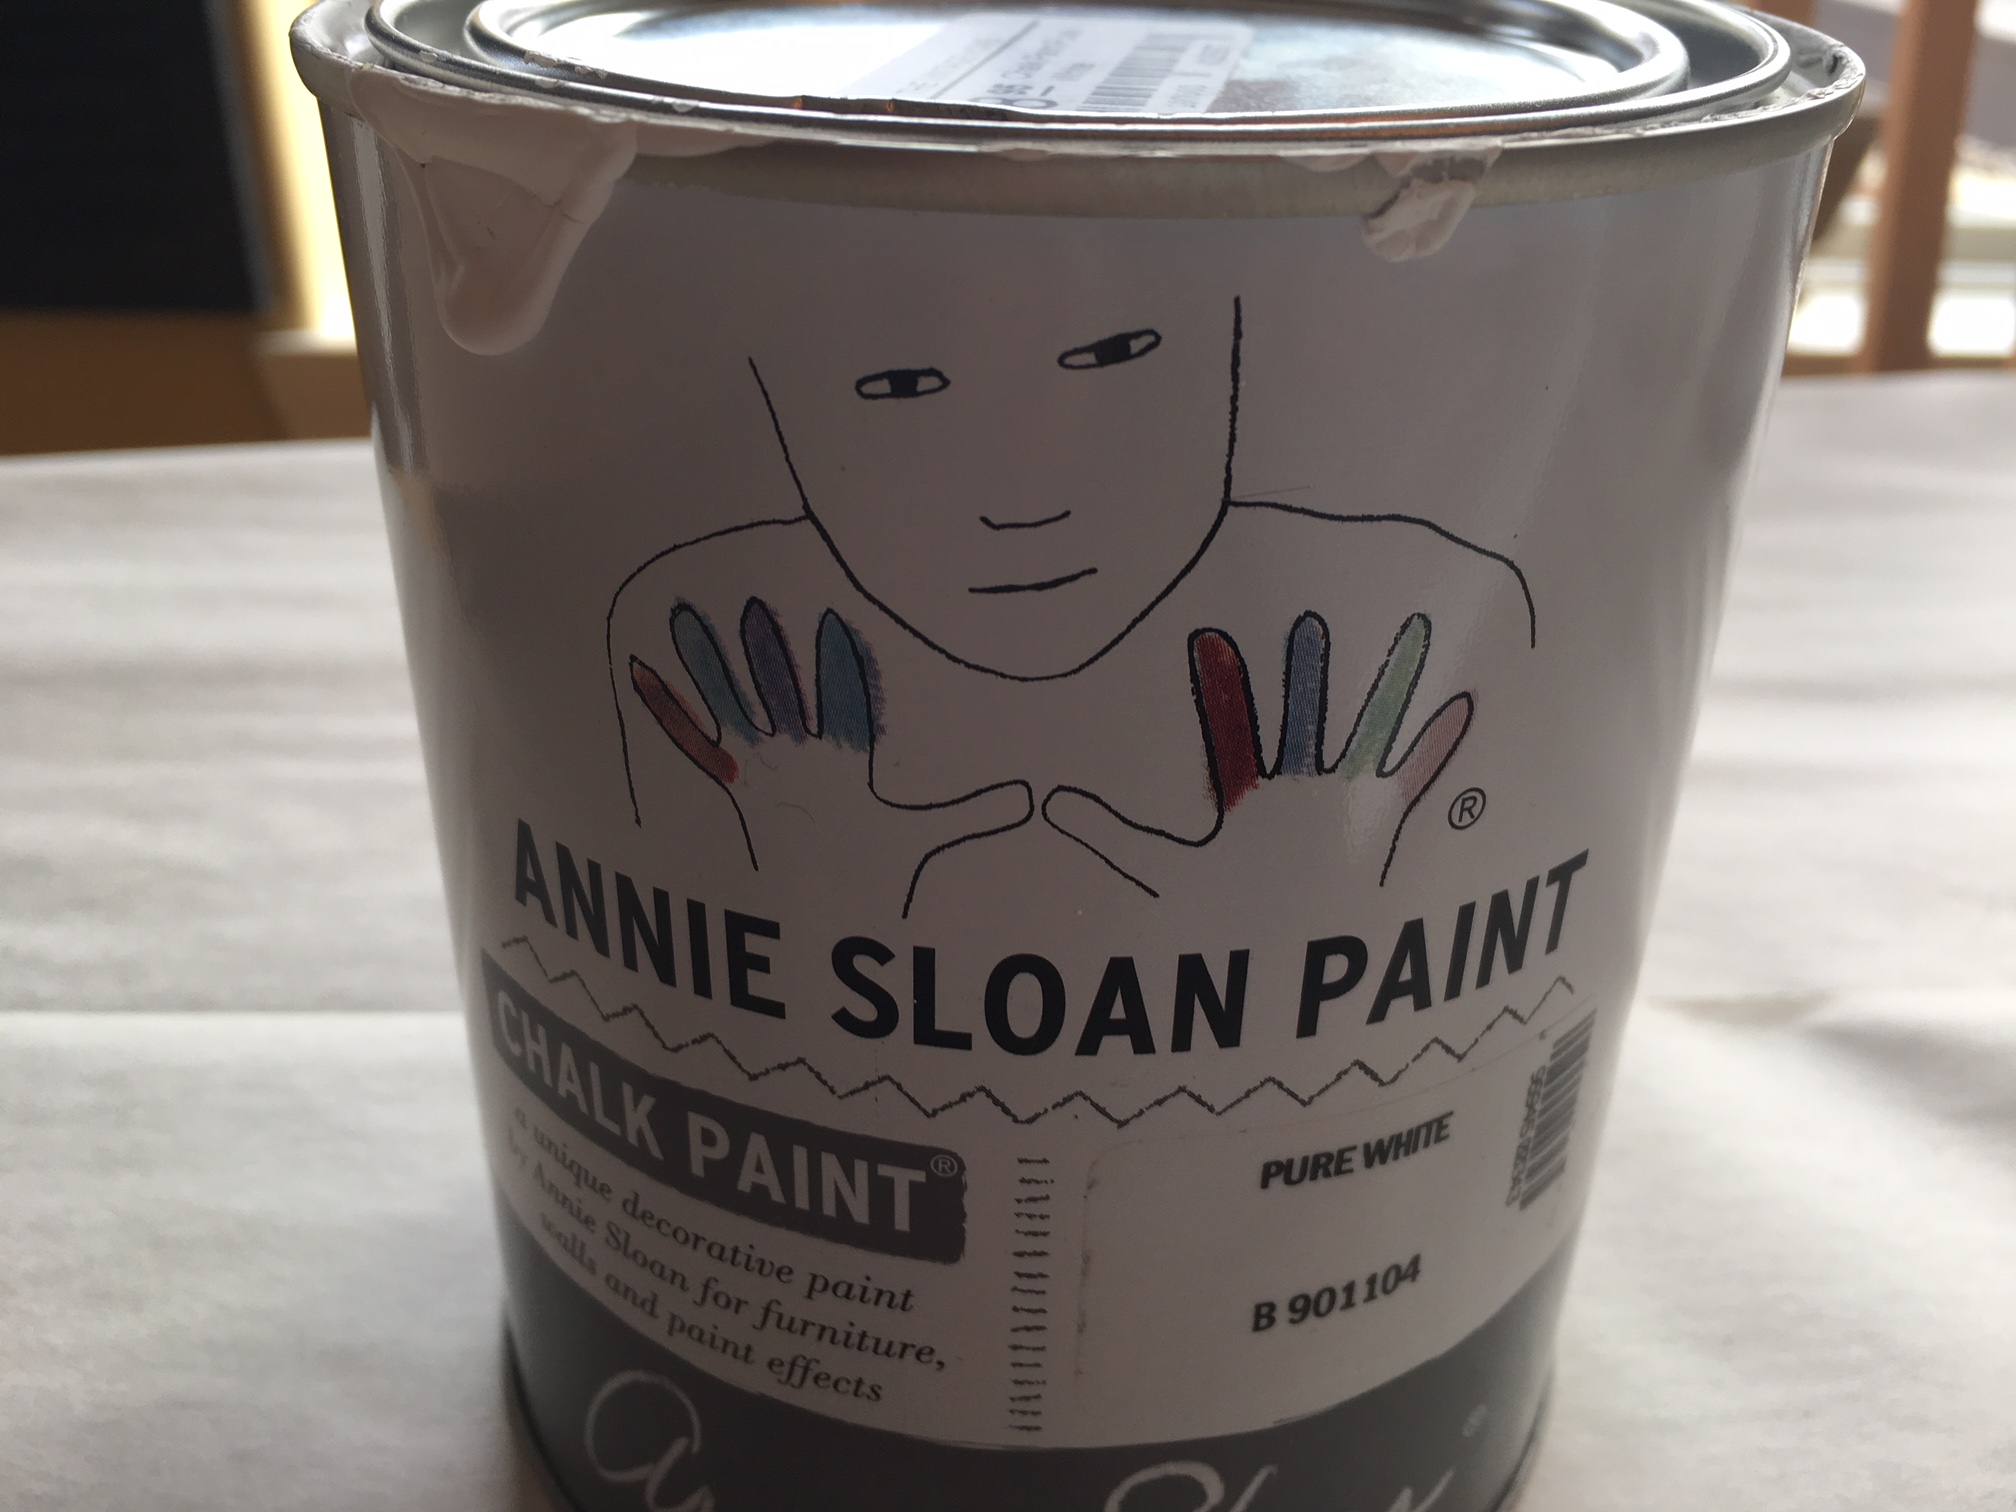
Second, I painted each with Annie Sloan chalk paint. I applied 2 coats of paint and allowed 1 hour between coats. Your time might be different based on your temperature and humidity. Just make sure the 1st coat is dry before putting on the 2nd coat.
I will be honest and say the price of this product was a little bit of a sticker shock to me, but it really was wonderful to use. It went on really smooth and dried super quick. I had to admit at the end that it was worth the extra spend.
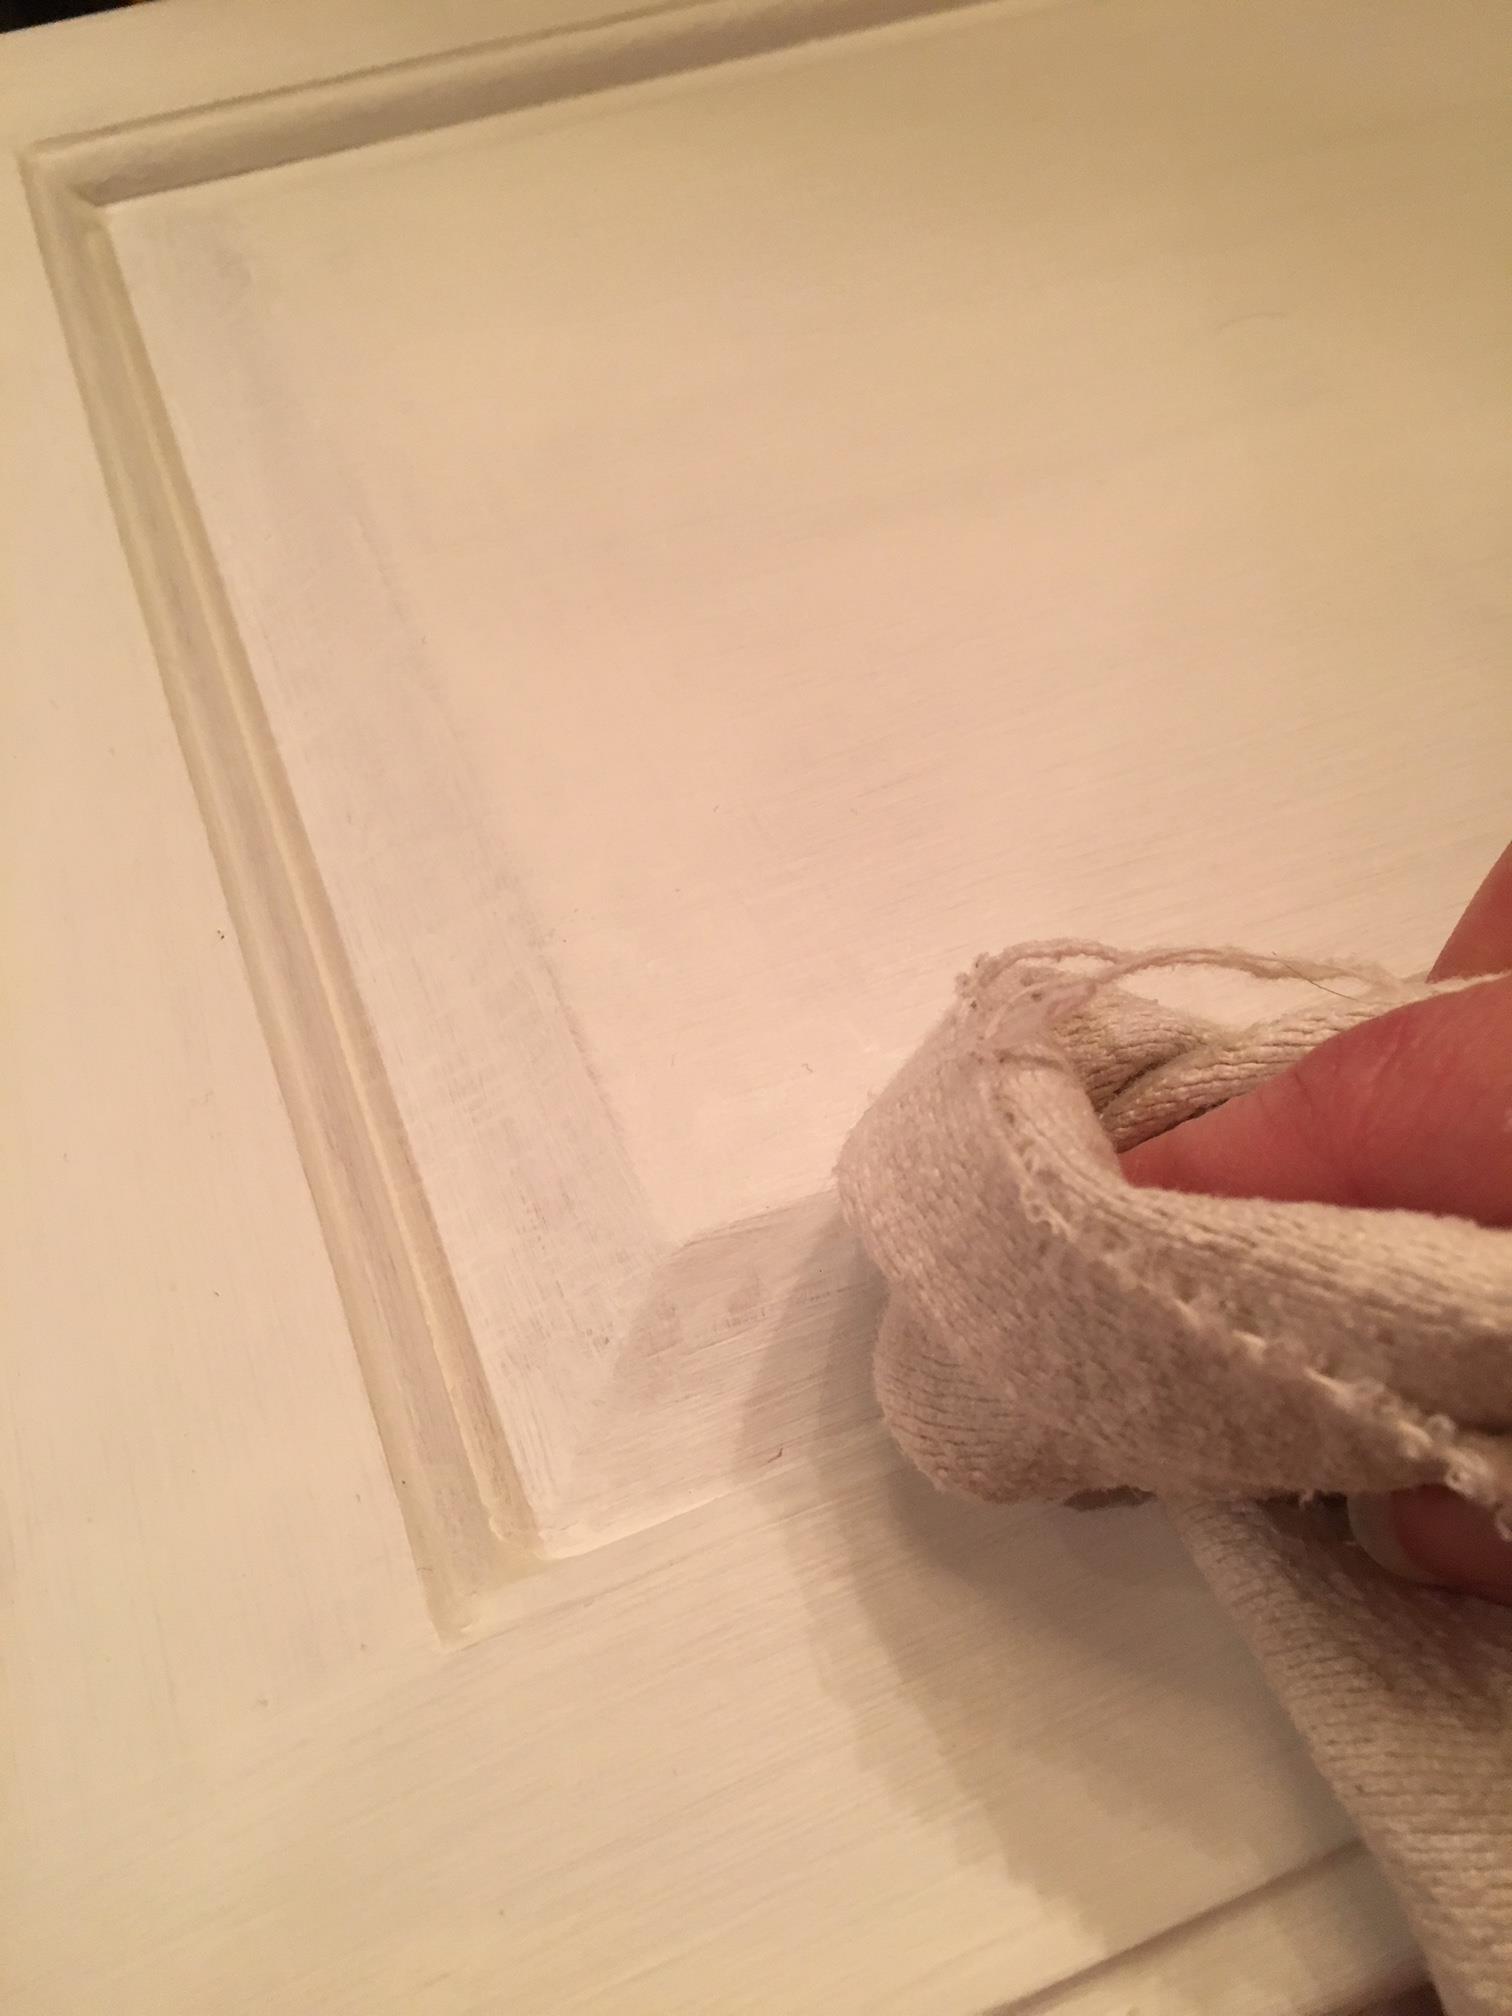
Third, I started putting on the wax once the coats of paint were dry.
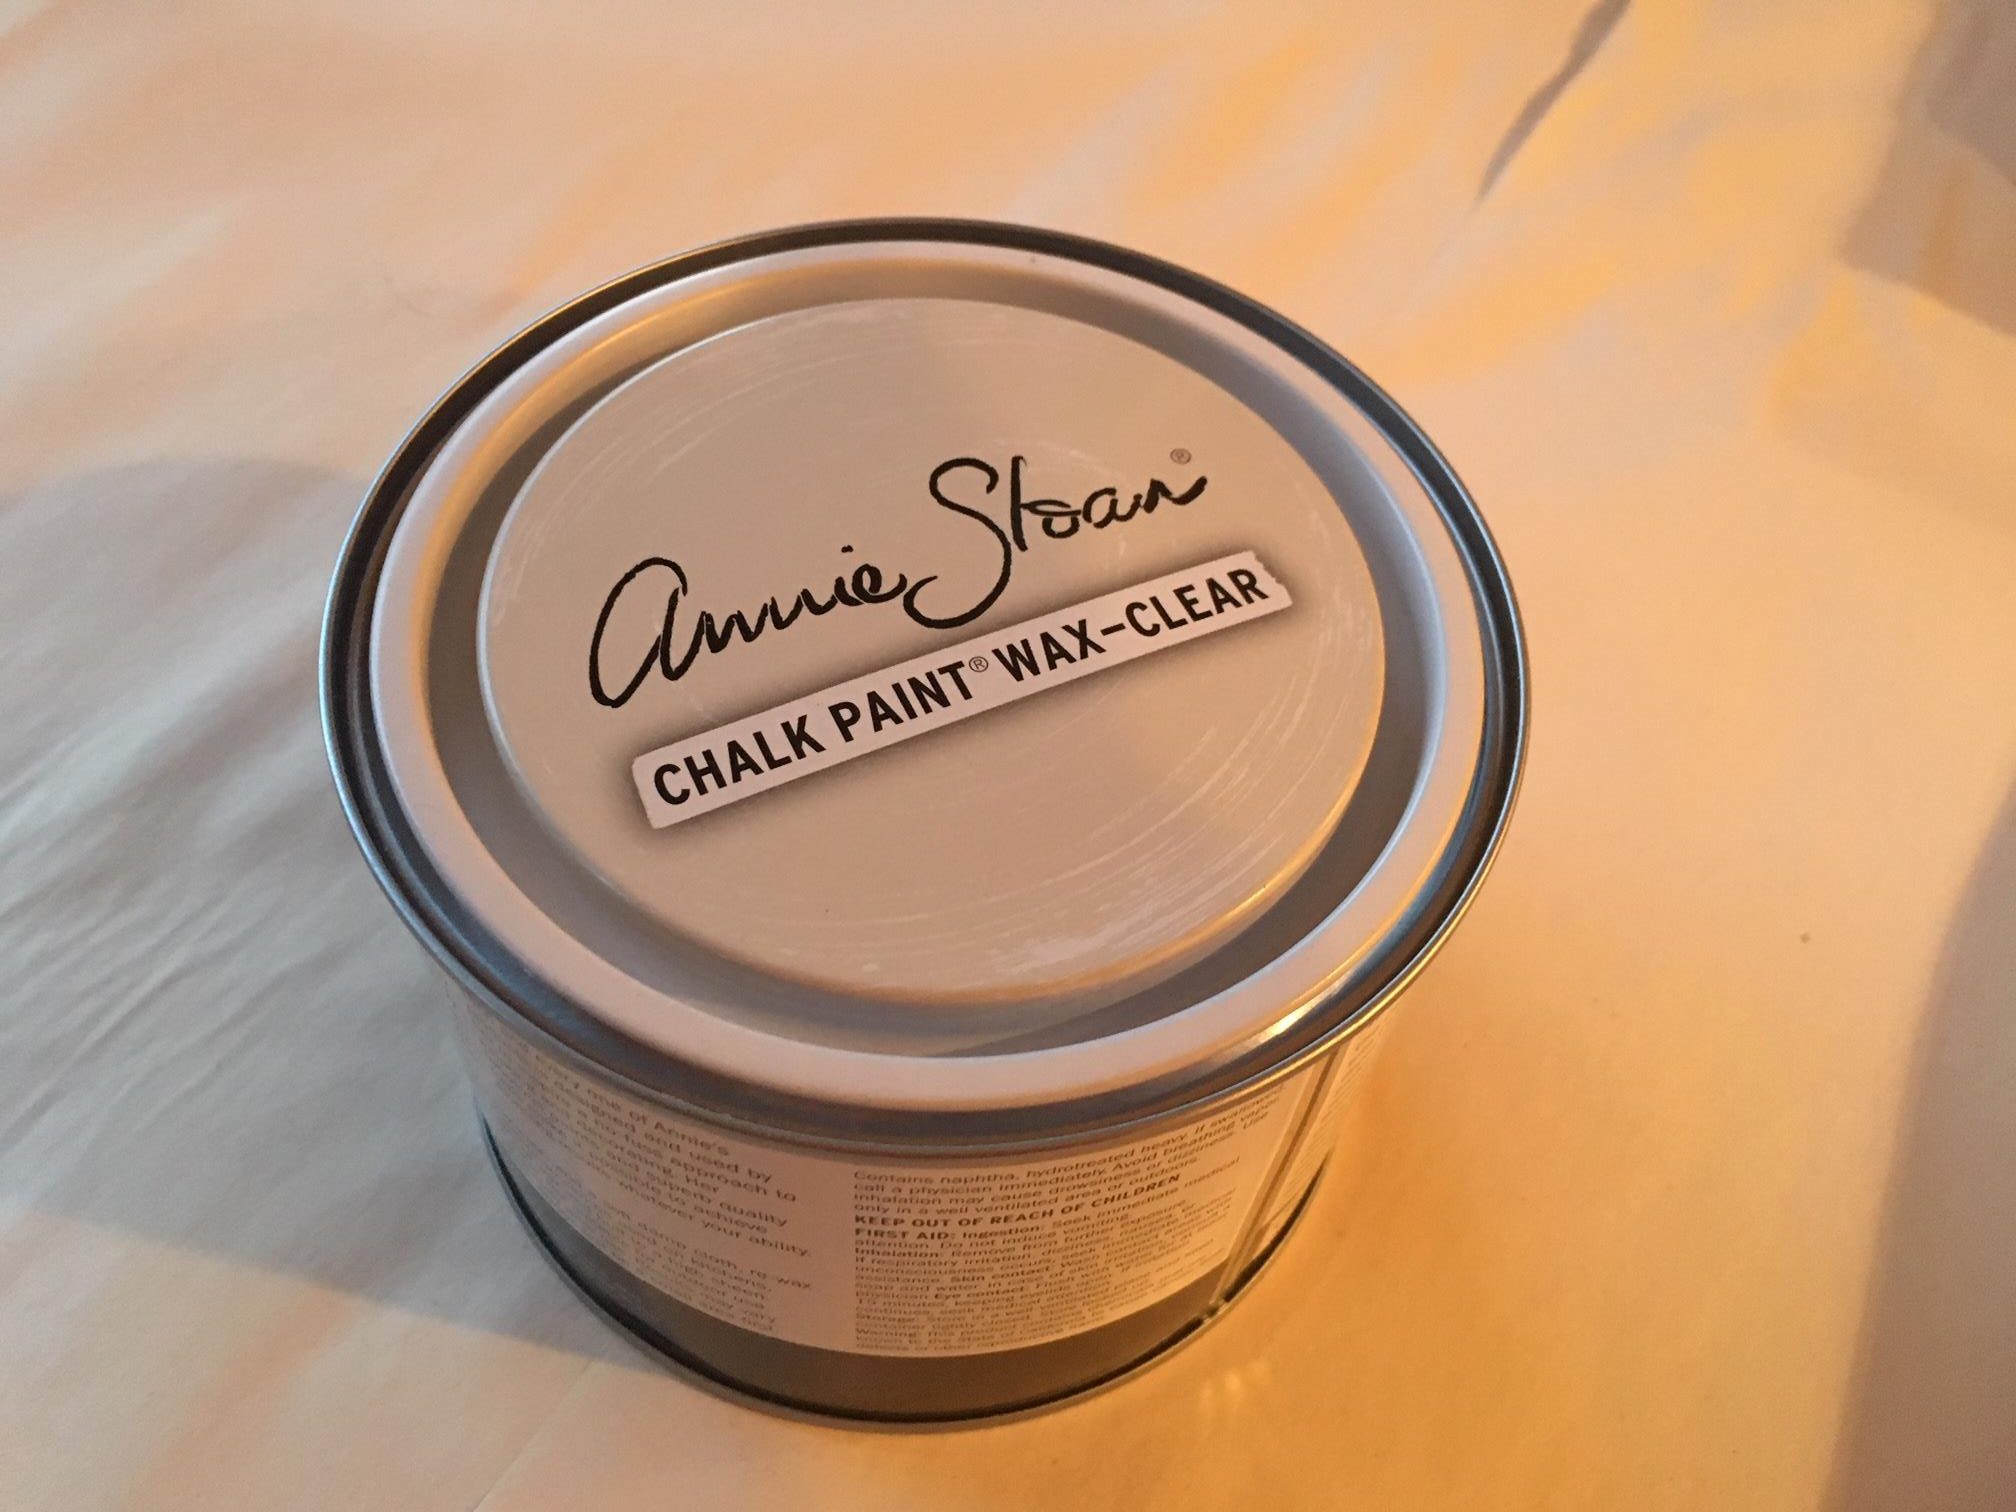
Apply the wax using a soft, lint free cloth to seal. I had fun with this part. It was like spreading butter, and it was smooth when it went on. It says it will harden over time and make a protective finish.
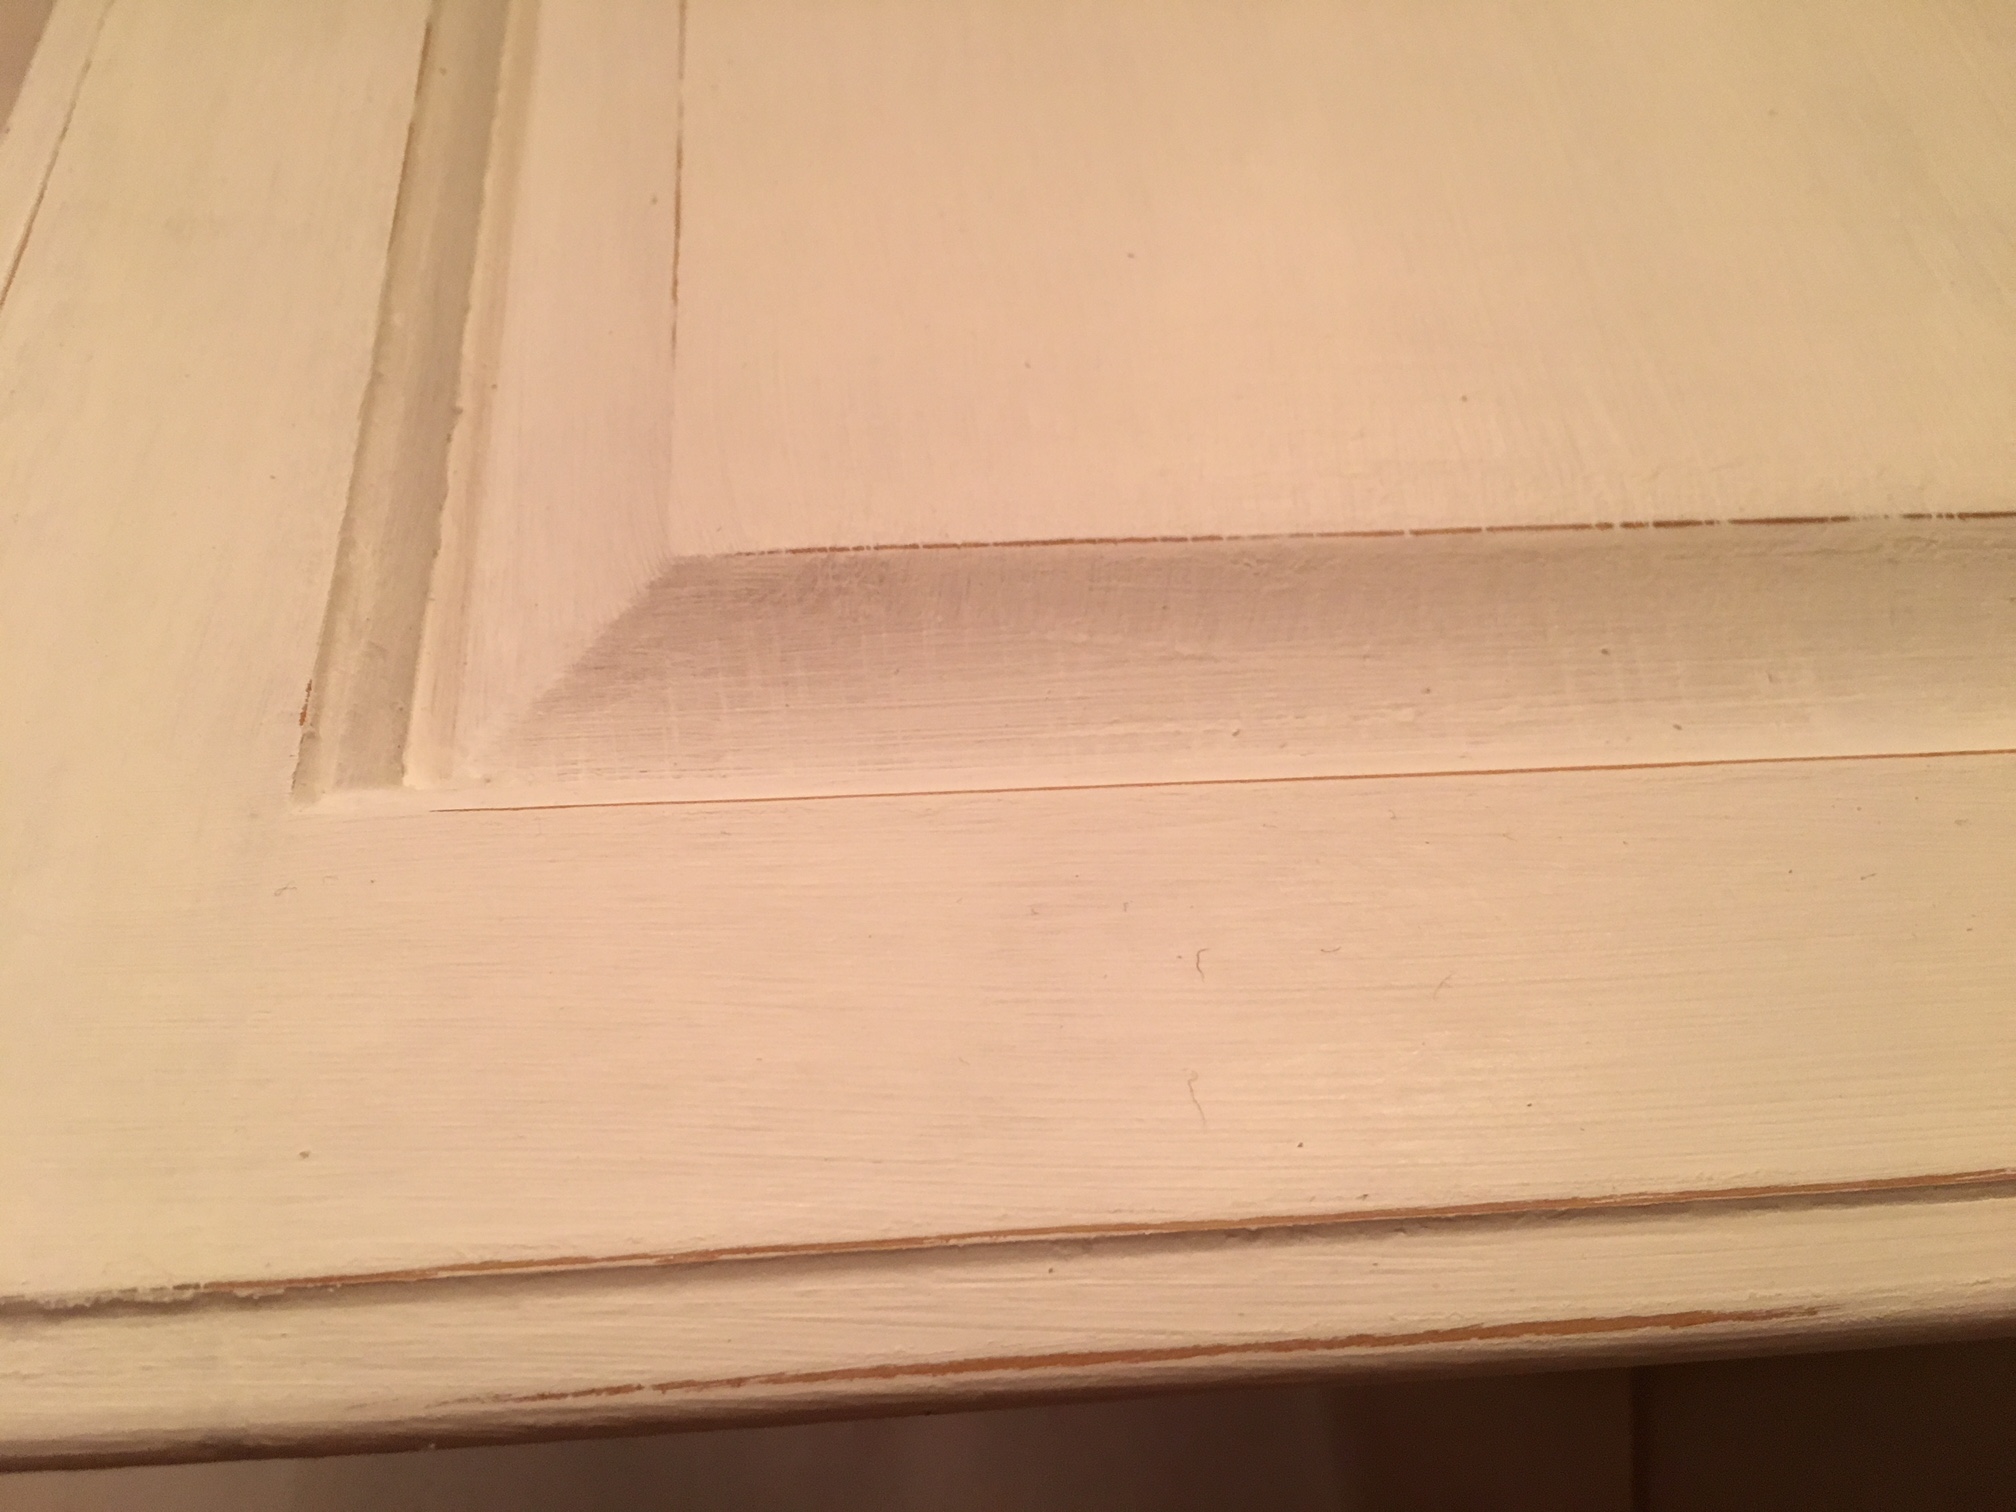
Fourth, now is the time to distress your towel rack if you would like to do that. Using a piece of fine grit sandpaper, sand gently around the edges or along the ridges. Scrape areas which would receive a lot of wear to make it look authentic. Distressing is a matter of taste so distress as much or as little as you want or not at all.
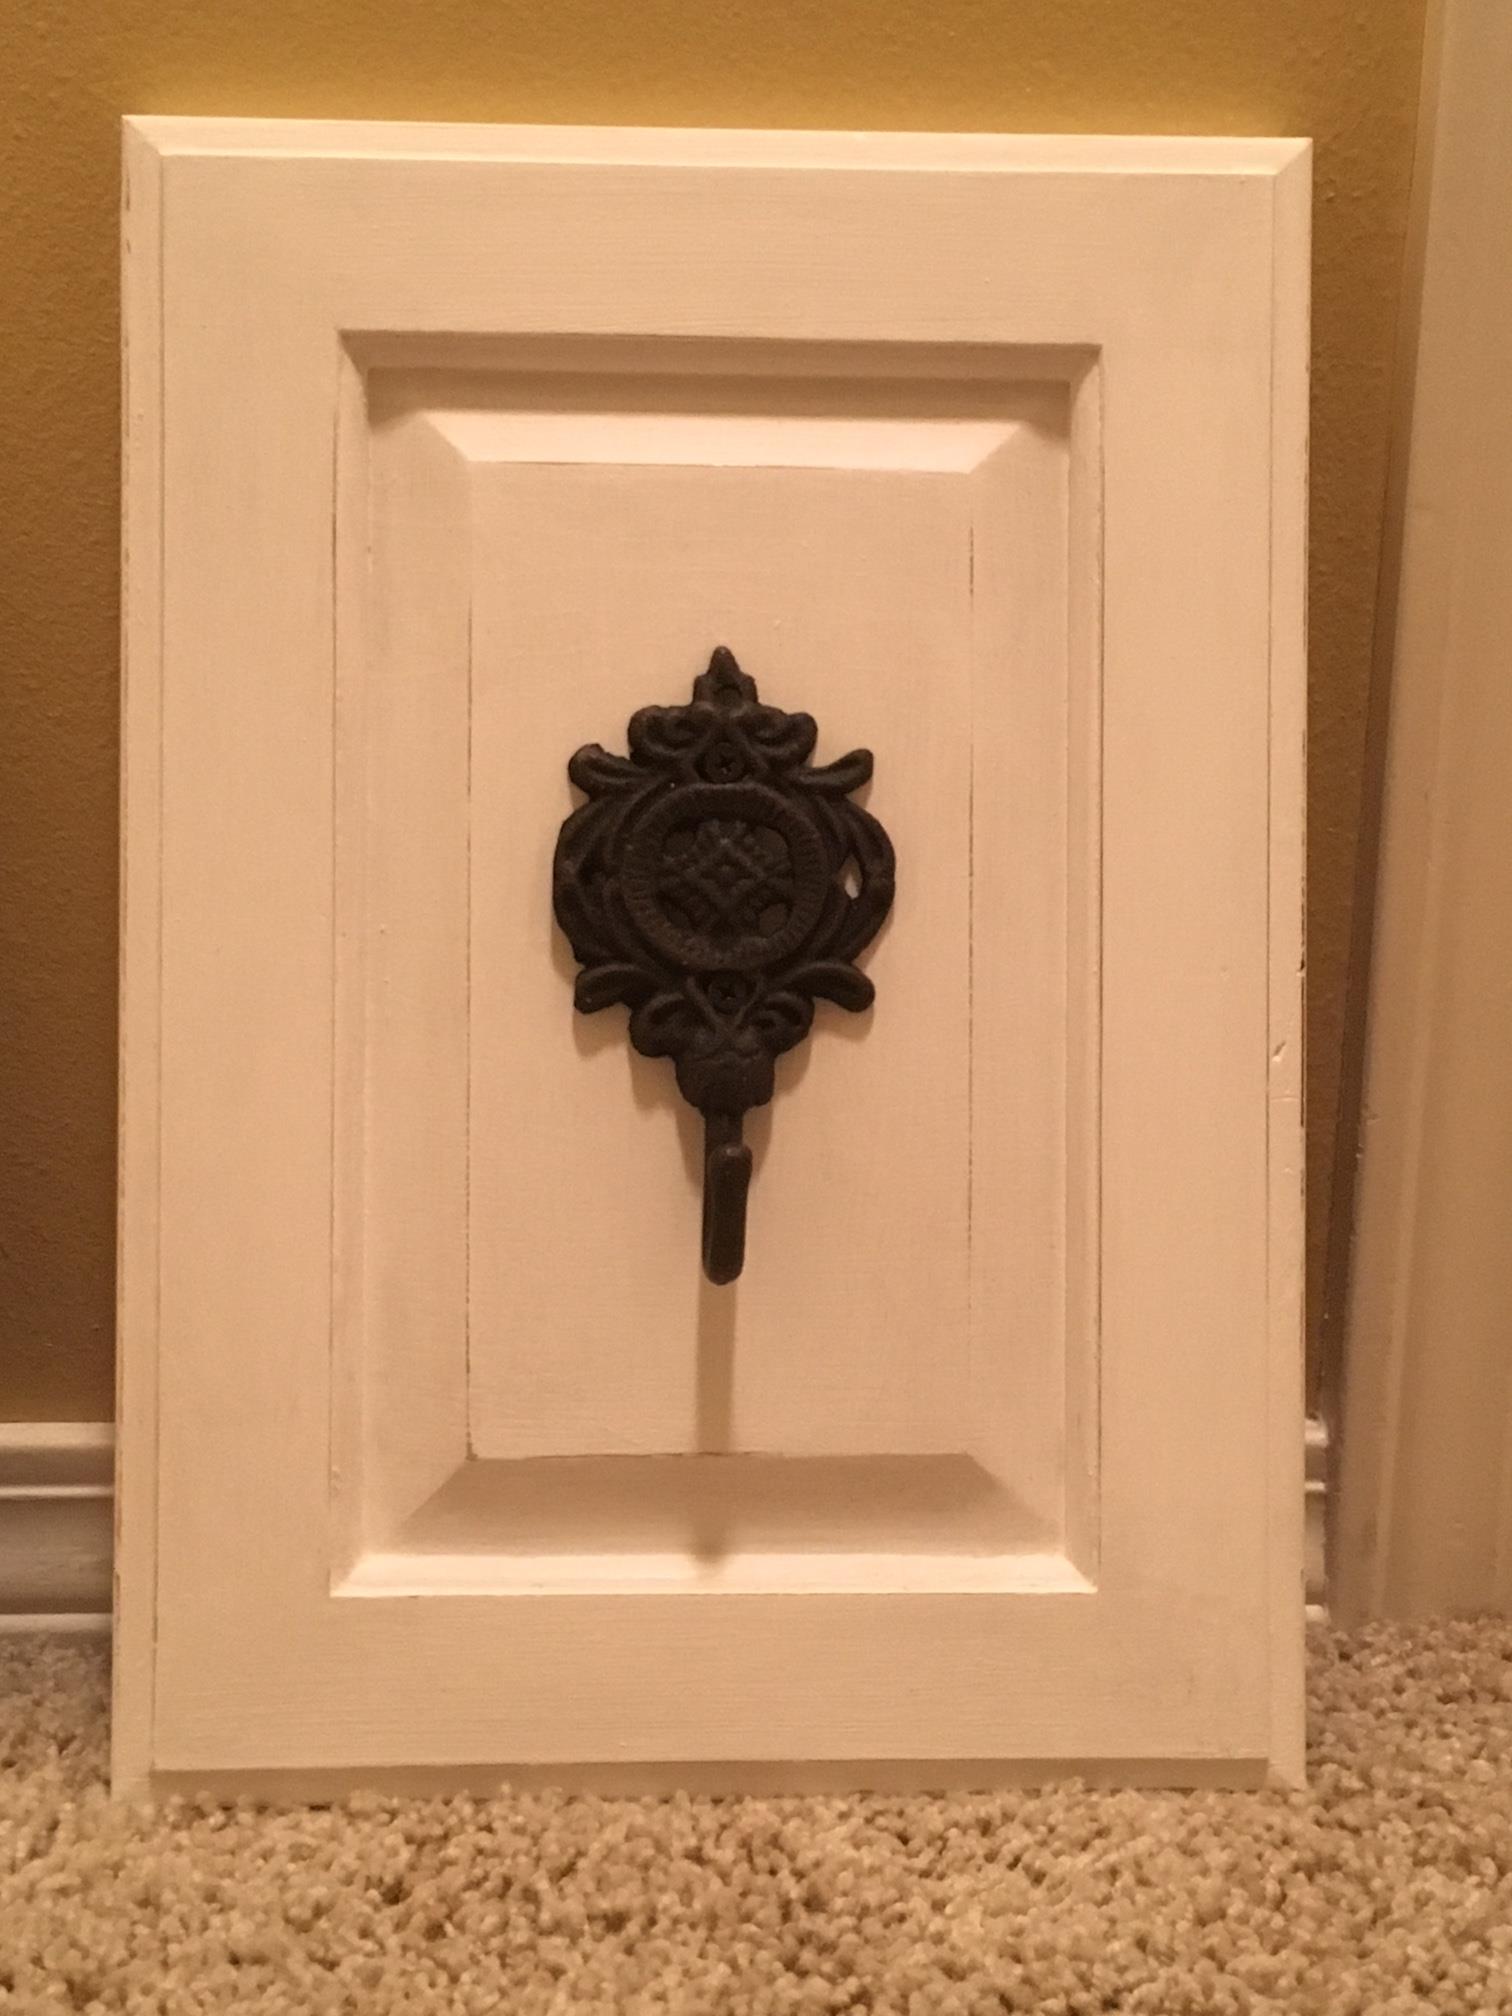
Fifth, line up where you want your hooks to go on your cabinet doors. There are some people who would just eyeball this part which I guess is ok if that is how you roll. I, on the other hand, am not some people, and I definitely measure. If your hooks are off center or crooked, then your whole project will just look janky, and you surely don’t want that.
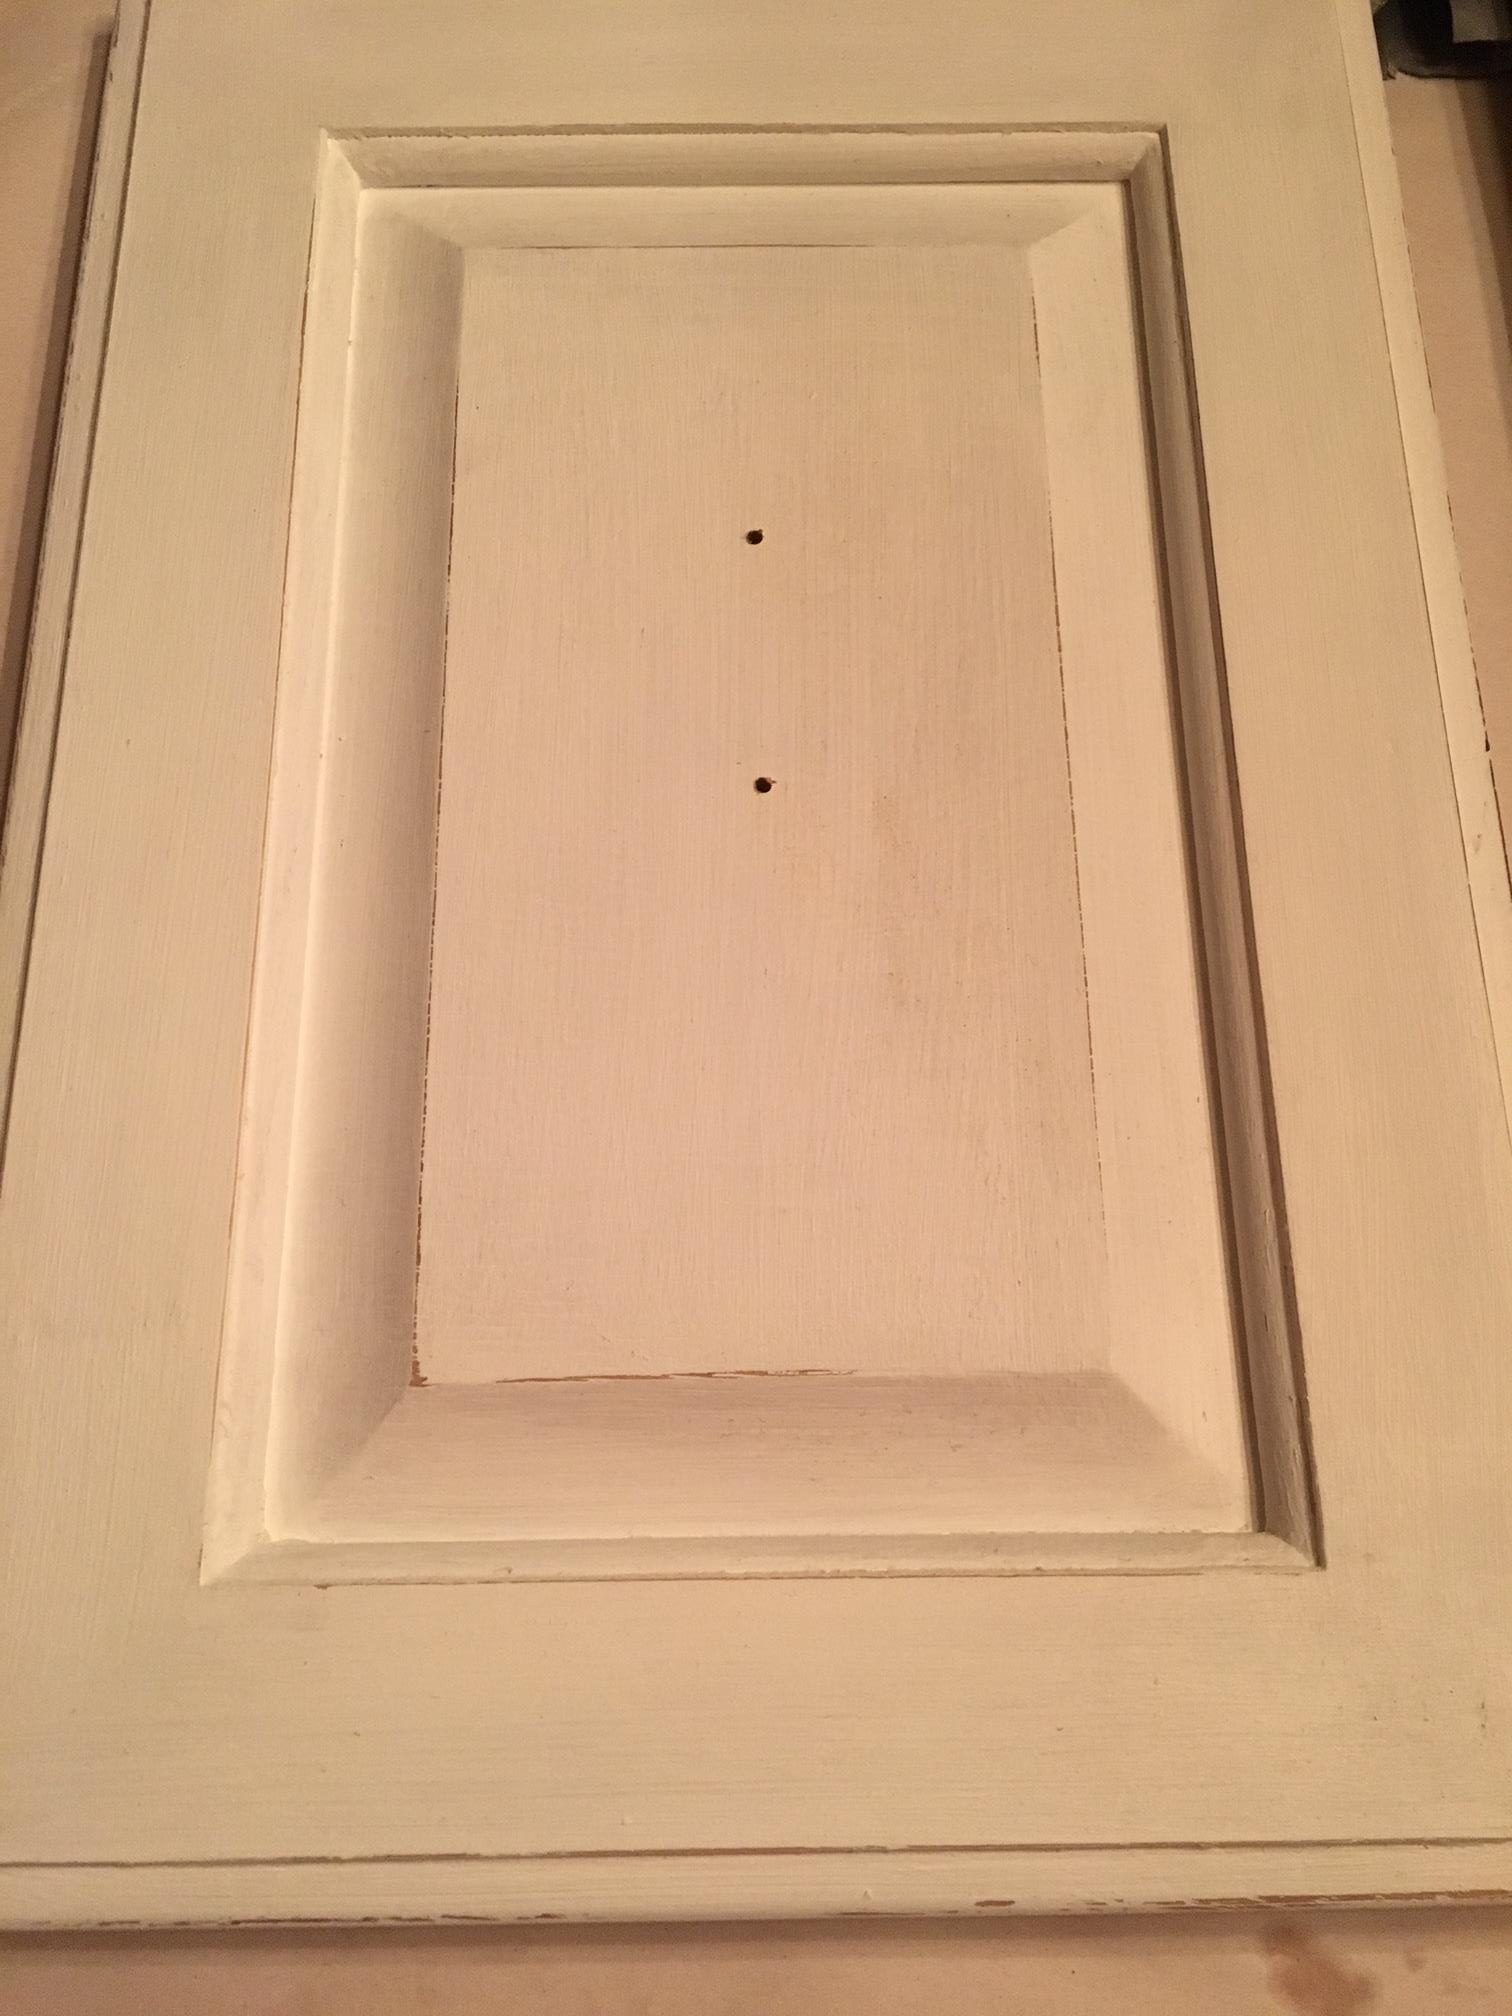
To center your hook on your cabinet door, make sure it is centered width wise and height wise using a measuring tape. Mark the holes you will need to drill to adhere the hooks you have.
If you are using more than one hook, center your first hook on the cabinet door using the same method as above, and determine what measurements you will need to get all of the hooks the same distance apart. For example, my cabinet door was 28 inches tall. My center hook went at 14 inches (the middle) and the other 2 hooks went at 7 inches in from each side. Make sure each hook is the same distance down from the top of your rack too. Mark where the hooks go and pre-drill a small hole so the wood will not splinter.
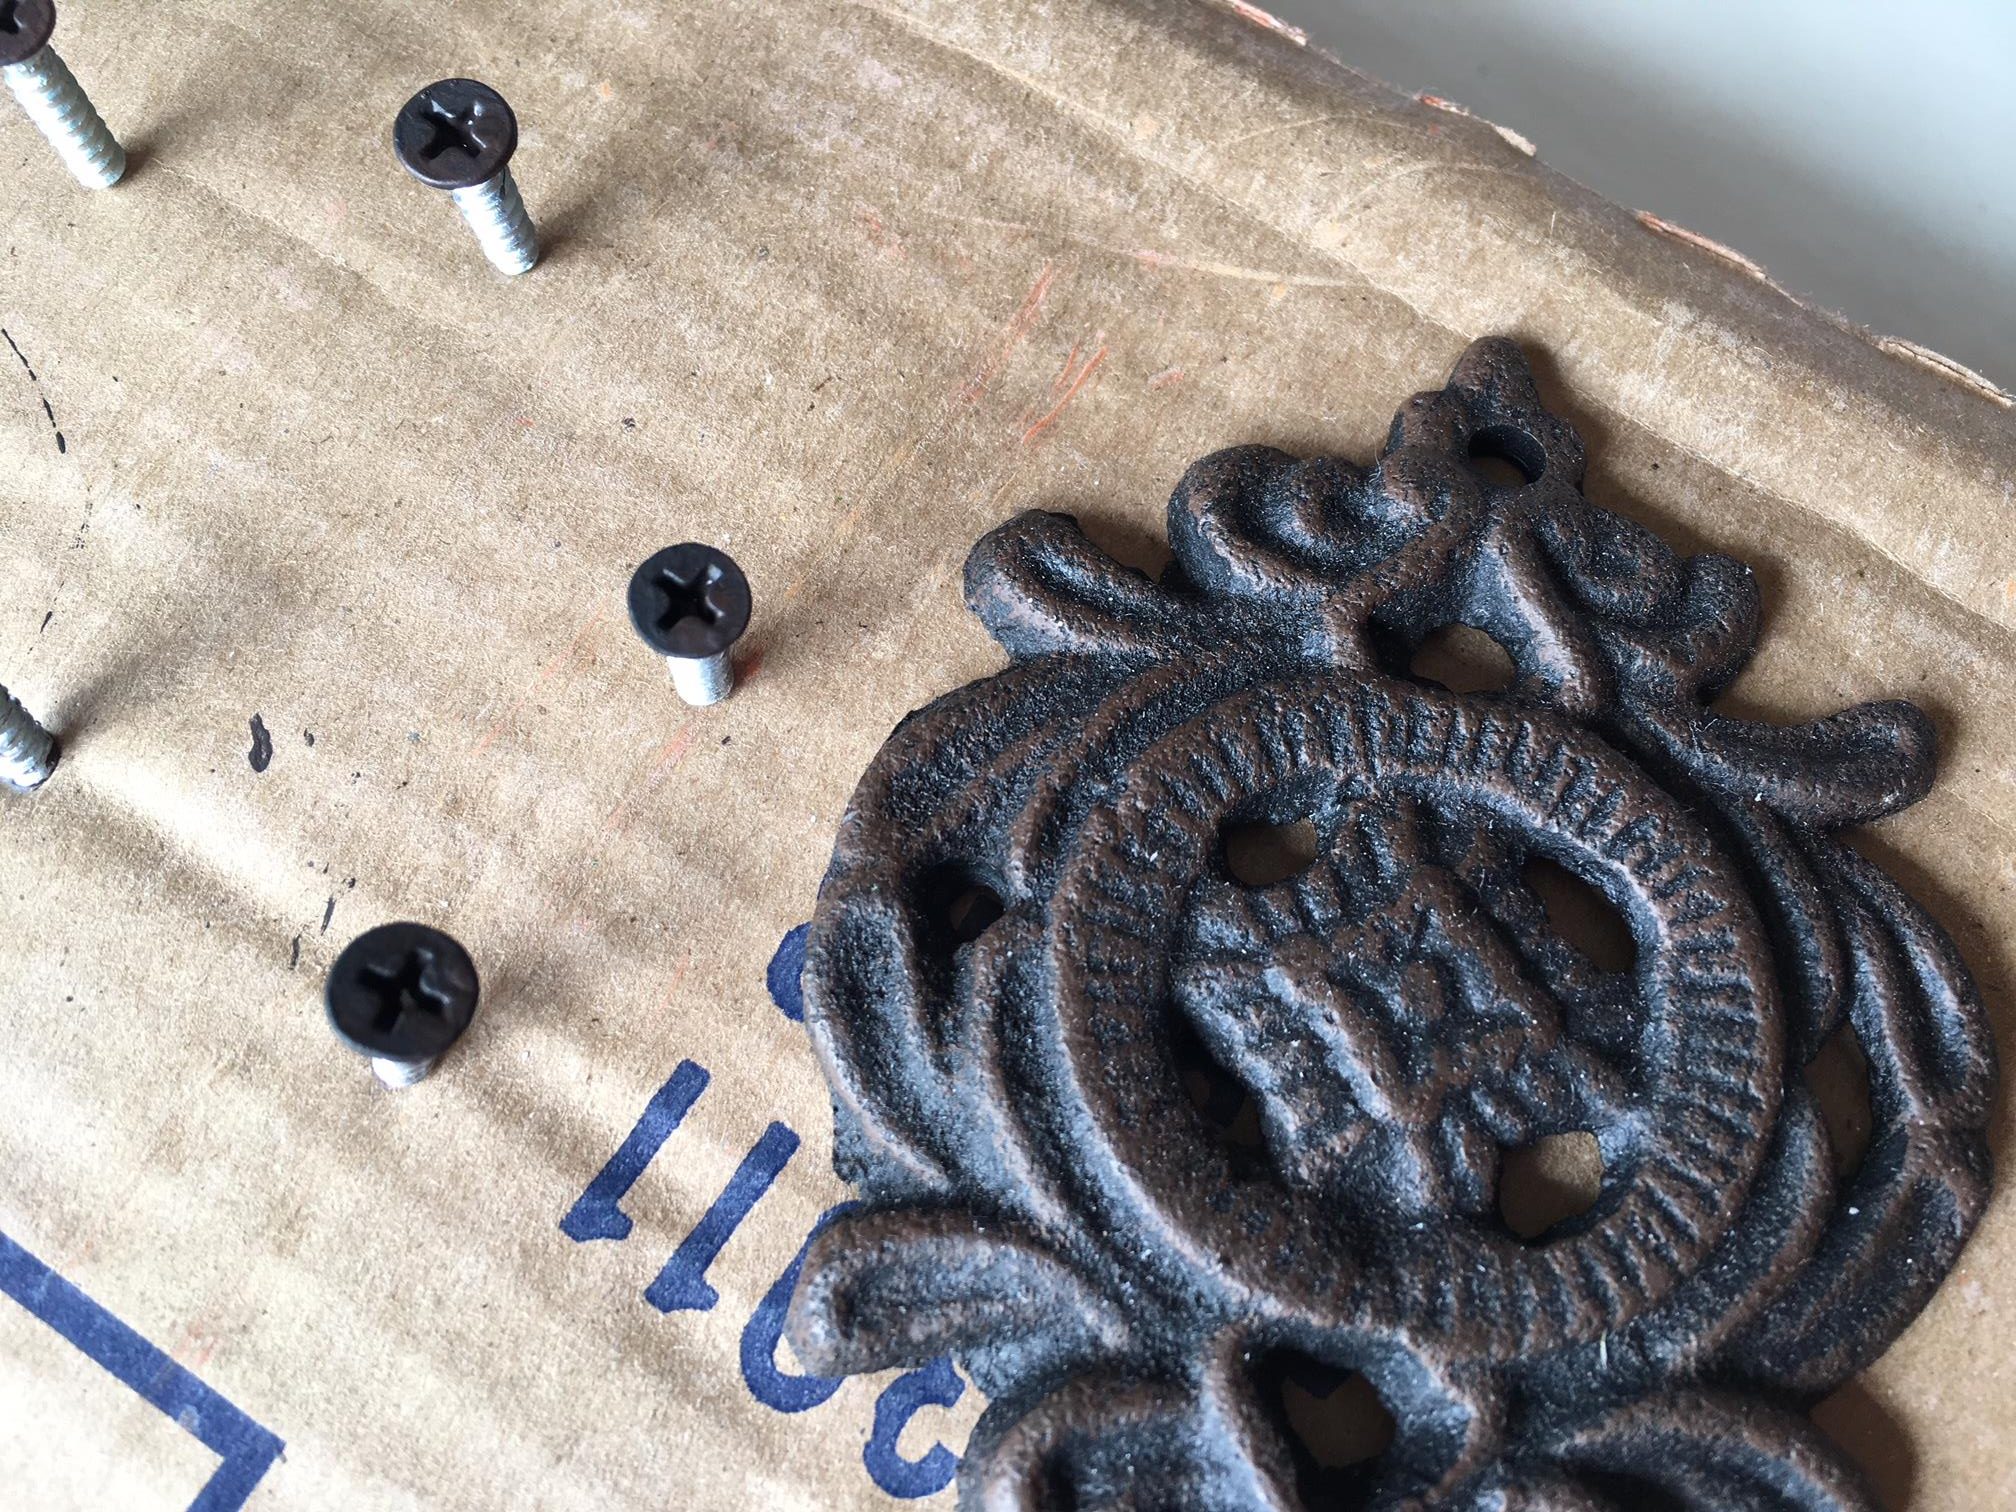
Sixth, I had to paint my screws to match my hooks. I had silver wood screws but didn’t want silver screws on my black hooks. I put my screws on a cardboard box and painted the tops of them to match my hooks using craft paint. Let dry.
Seventh, screw the hooks carefully into the board.
Attach to the wall by screwing it into the studs (pre-drill your holes) or attach hanging brackets on the back of the towel rack. I will be attaching mine by screwing it into the studs just because there is so much pull on the towel rack that I want it to be secure in the wall and not come off when pulled on.
I hope this gives you some great ideas for either a towel rack or even as a place to hangs coats in an entry way. What a great way to upcycle!
Blessings,
Andrea
Copyright 2018