
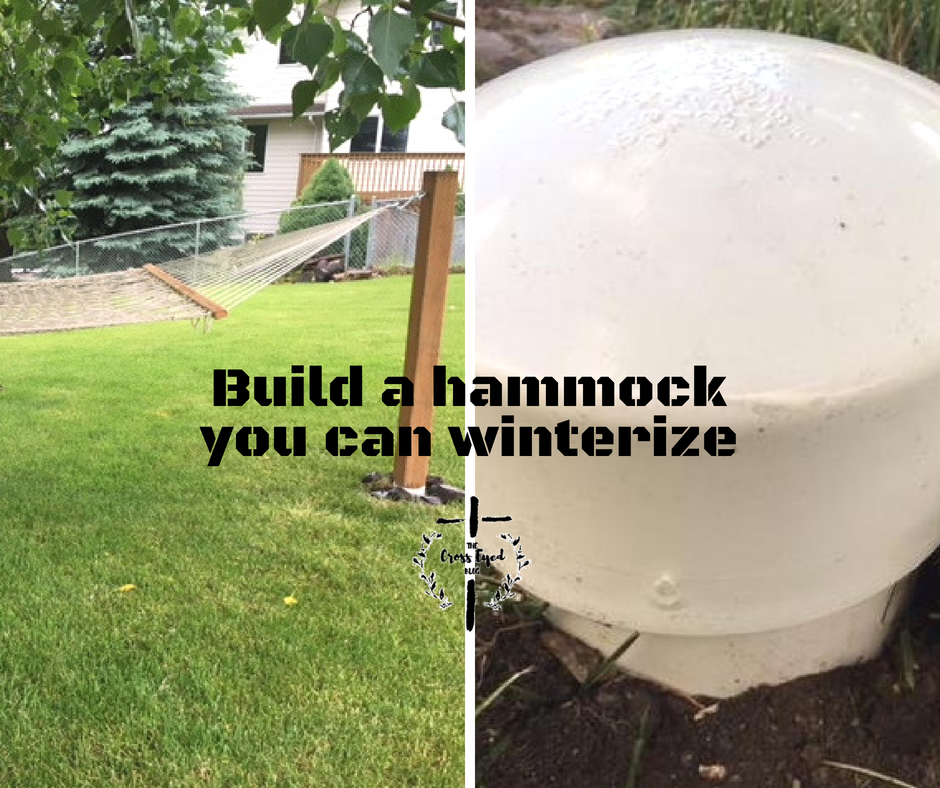
Recently, I came up with the idea of hanging a hammock in our yard which we could easily winterize when that time comes. If you live in a climate where it is cold or winter for the majority of the year like we do, this might be a good idea for you too.
My husband says he would be a multi-millionaire if he had a dollar for every time I said, “I have an idea”. My idea for a way to have a winterized hammock was no exception. I wanted a hammock I could enjoy for the short summers we have here in Montana but wanted a way to be able to put it away for the winter. It usually starts to snow here in November, and I usually don’t see my grass again until March.
I pinned some ideas I liked on Pinterest, but they were permanent with the poles dug or cemented into the ground. Those poles would probably not fair well here for us in the winter plus I really didn’t want the eye sore of naked poles sticking out of the ground amid the winter snow. I wanted not only the hammock but the pole too to be able to be put away for the winter.

I came up with an idea to place a large PVC pipe in the ground and place the post into the PVC pipe. That way when winter is eminent I can take the post out of the PVC pipe and place the PVC cap on the pipe for the winter. Problem solved!
WHAT YOU WILL NEED
- A hammock (Your hammock should come with hardware (2 eye hooks, 2 chains, and 2 S-hooks). If not, you will need to buy these items separately.)
- a drill with a 1/8″ – 3/16″ inch drill bit
- a 4″ x 4″ treated post (A treated post will weather better than an untreated one. Our post is 6 feet tall. Yours may need to be more. 2 feet needs to be in the ground and 4 feet above ground minimum. However, if you are on a hill or if you expect the weight of people in the hammock to be heavy, you might want to get an 8 foot tall post.)
- a saw, circular saw or both
- tape measure
- shovel
- PVC pipe (Ours was 2 feet long and 4″ in diameter)
- PVC cap (4″ diameter, make sure it fits your PVC pipe at the store)
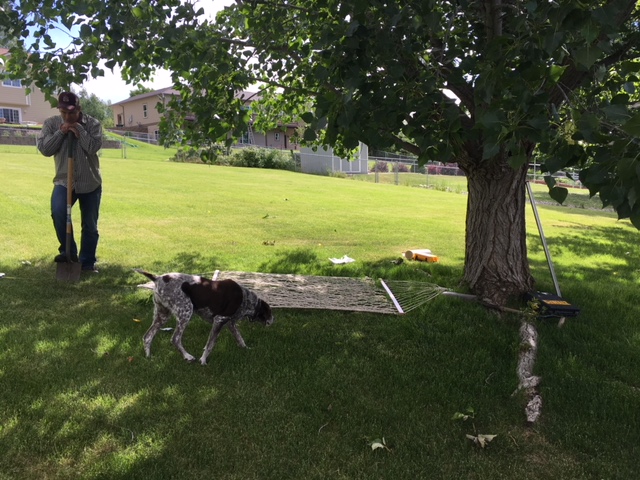
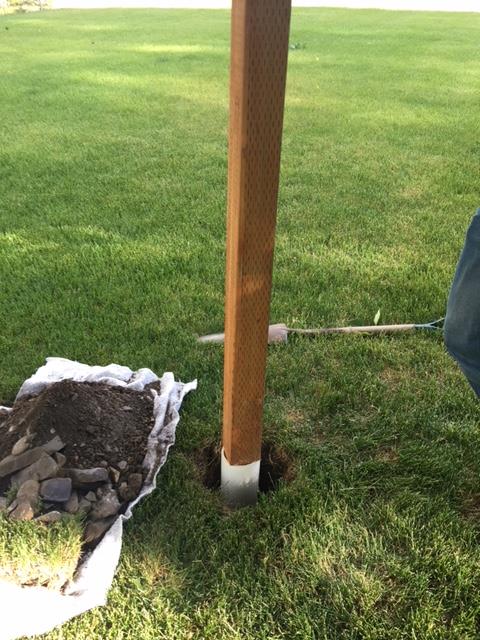
Cute husband and dog surveying the new hammock spot.
STEP 1 – PLANNING
Consider where you are going to put your hammock. Do you want it in the full shade or partial shade? Note over several days the times of the day when certain parts of your yard have shade and when they don’t. I most likely will be using my hammock in the afternoon or the evening when my daily chores are done so I put the hammock in a spot which gets afternoon and evening shade.
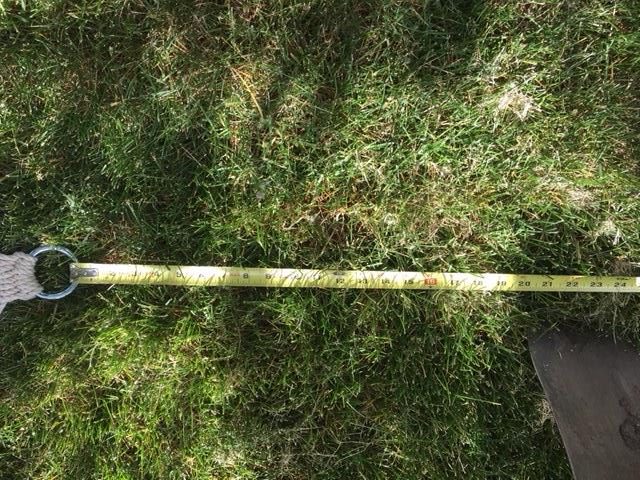
We measured 24 inches out from our hammock to dig our hole.
STEP 2 – MEASURING
We decided to hook one side of our hammock to an established tree we have in our yard with the other side supported by our post. We stretched our hammock out tight on the ground from the tree in the direction we wanted to put our post. We measured out with a tape measure an additional 24 inches out from the end of the hammock. We started to dig our post at the 24 inch mark. So, for example, if our hammock is 13 ft long then our measurement out from the tree would be 15 ft in length.
HINDSIGHT IS 20/20
Please be sure to follow the instructions for your own hammock. Those measurements may differ from ours. We also would have put our post out farther such as at 36 inches instead of 24. You could always supplement too much distance between posts or tree by using chain as extensions, but if the tree and post are too close, the hammock as well as bottoms will drag the ground.
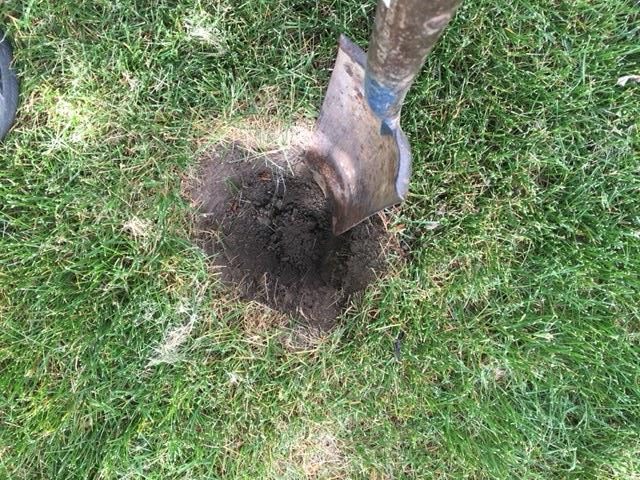
STEP 3 – DIG THE POST HOLE
This will be the most labor intensive part of this project. Dig the hole 2 feet deep. Surely it goes without saying to be careful to not dig where you know there are power, cable or sprinkler lines. Call your local authorities in your area if you are unsure of what is in your yard. Reserve all of the soil and rocks you take up from your hole. You will reuse it later.
STEP 4 – CUT YOUR POST
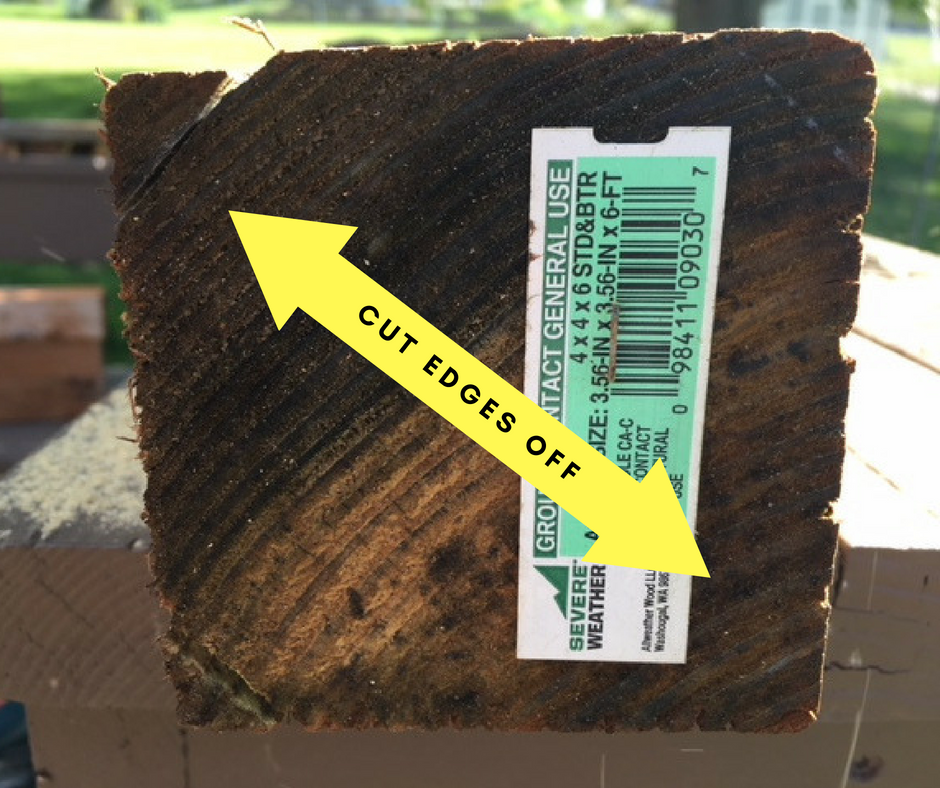
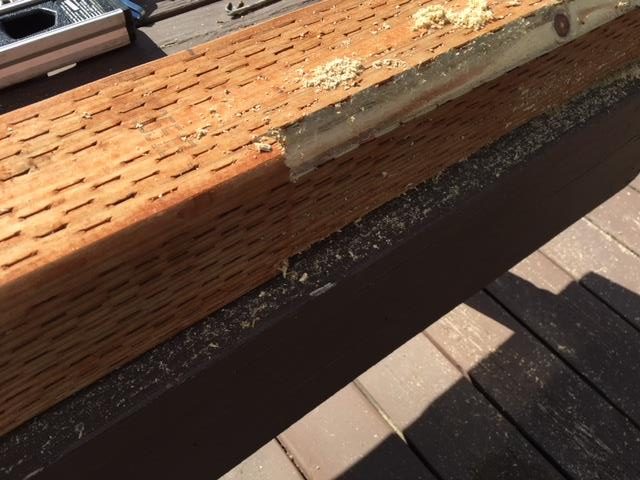
Have you ever heard that you can’t fit a square peg in a round hole? Well, this project proves that point. In order to get the square post in the round hole, we had to cut some of the wood off of the edges of the post. Our treated post is a 4″ x 4″ post. Our PVC pipe is 4″ in diameter. However, the post measured 5 inches when you measure from corner to corner. We needed to take off 1/2″ from each edge of our post but only for 2 feet up the post. Remember, the hole will only be 2 feet deep. Your post may be different so make sure you measure your post. My husband used a circular saw with a 45% angle cut on it to cut these. You could also use a hacksaw. Please be careful with this part. You should always wear safety goggles and never use power tools if you don’t know what you are doing. We sanded and planed to get the post to the exact dimensions we wanted it to be.
HINDSIGHT IS 20/20
My goal was to get the post to slide in and out of the PVC pipe easily so we could pull it out of the ground for winter without the PVC pipe wanting to come up out of the ground with it. Also, if the post was too loose in the pipe, the hammock with bump and bounce every time you rocked it which I did not want. So, the goal was to get the post to fit in the pipe securely but with only a small amount of play in it. Have your PVC pipe handy to keep testing to see if you have it right.
STEP 5 – PUT POST IN GROUND
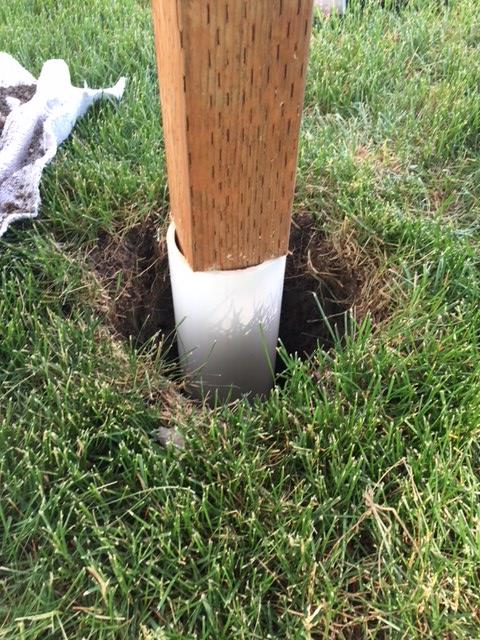
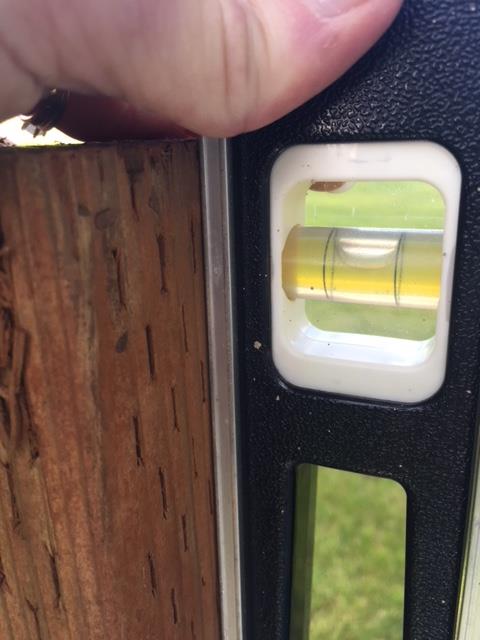
Place the PVC pipe in the ground making sure about 2 inches sticks out from the ground. There needs to be some pipe to put the cap on. We put just a few rocks in the bottom of our PVC pipe just to have a more secure base for our post and to insure it did not sink in the ground. This may be an unnecessary step, but it is what we did. As you can see the post goes inside of the PVC pipe. The 1/2″ we cut off of each edge up to 2 feet on our post allows for a nice overhang on the post which helps to ensure the post will not sink into the ground. Check for plumb on all sides of your post as you carefully fill your reserved dirt back in the hole around your PVC pipe intermittently tamping the dirt firmly around the post at intervals.
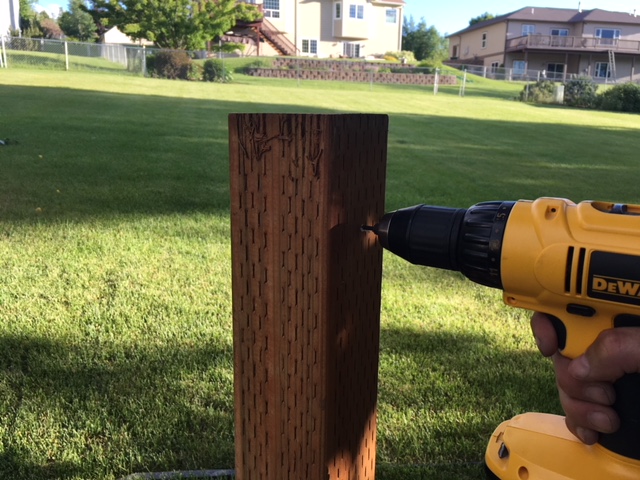
STEP 6 – DRILL EYE HOOK HOLE
Our hammock said to install the hammock 4 feet above the ground. Our post is 6 feet tall. Two feet is now in the ground. So, we drilled a small hole close to the top of our post and screwed in the eye hook.
HINDSIGHT IS 20/20
Don’t install your eye hook too close to the top of your post. The weight of the hammock could make the eye hook rupture out of the top of your post if you install the eye hook too close to the top. We measured down about 2 inches.
STEP 7 – DETERMINE HEIGHT OF SECOND EYE HOOK
We attached our hammock to our post using the hardware provided and drew it as tight and as visually level as we could. We even used a long level to get an approximate better idea of where to put our eye hook in our tree. We drilled a pilot hole using the drill and installed the eye hook in the tree.

A really cute girl enjoying the hammock.
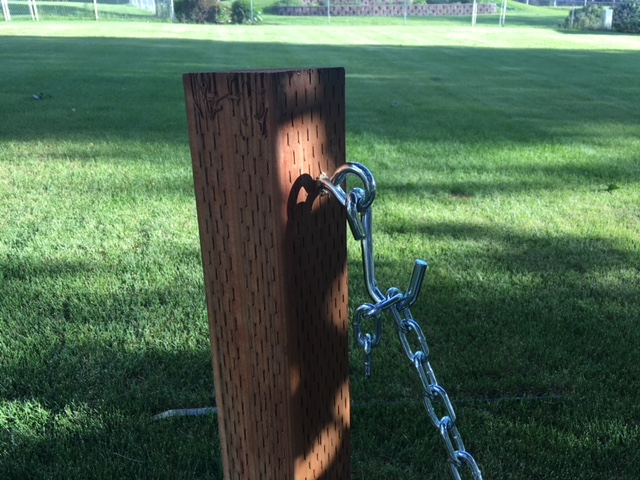
STEP 8 – HANG YOUR HAMMOCK AND ADJUST FOR HEIGHT
Using the included hardware, use the S hooks and the chain to adjust the hammock to the desired height for your needs.
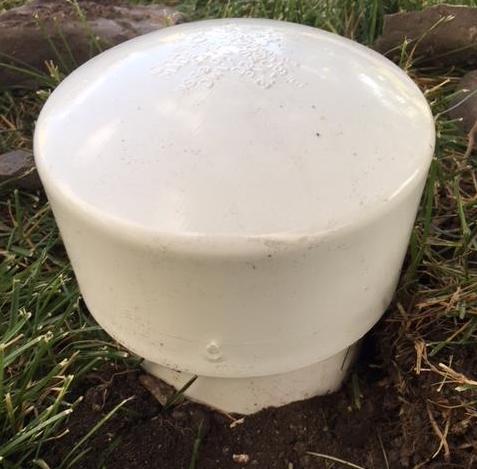
STEP 9 – WINTERIZE YOUR HAMMOCK
When winter comes, just take your post out of the ground. Store the post as well as the hammock and hardware in the garage until the next spring or summer. Place the PVC cap on the PVC post to inhibit rain, snow or any critters getting down in the hole. I think we are going to put some petroleium jelly on the connection when we do ours. We hope this will help it to stay loose and easier to get off in the spring.
HOPE THIS GIVES YOU AN IDEA FOR YOUR YARD!